MFA configuration with Microsoft Authenticator and MacOS (EN)
Step 1 : Install the Microsoft Authenticator app on your phone from Apple Store or Google Play
Step 2 : Open a local session on the Mac OS

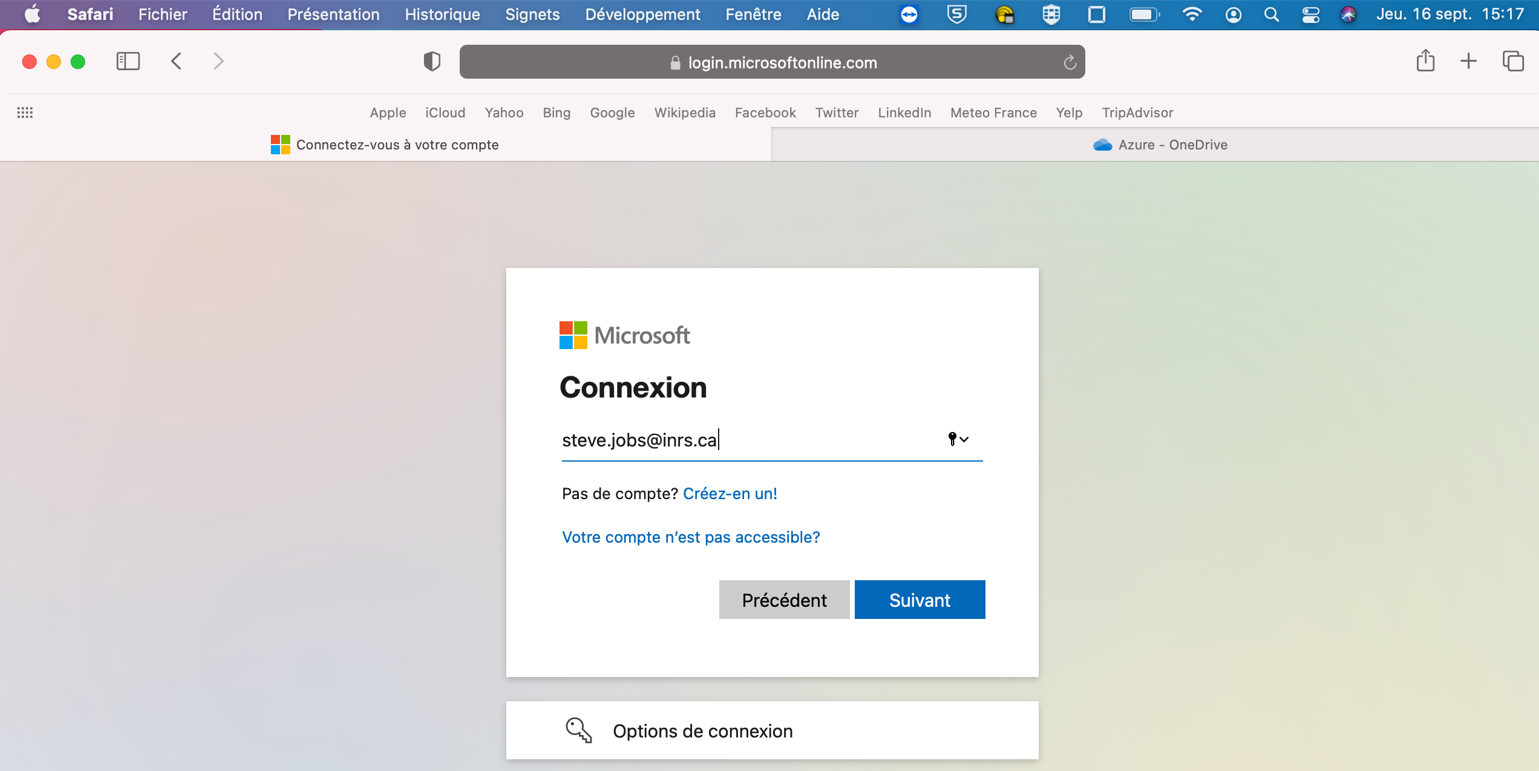
Step 3 : Go to Office.com with Google Chrome or Edge, click Sign in, type in your INRS email address then click on Next

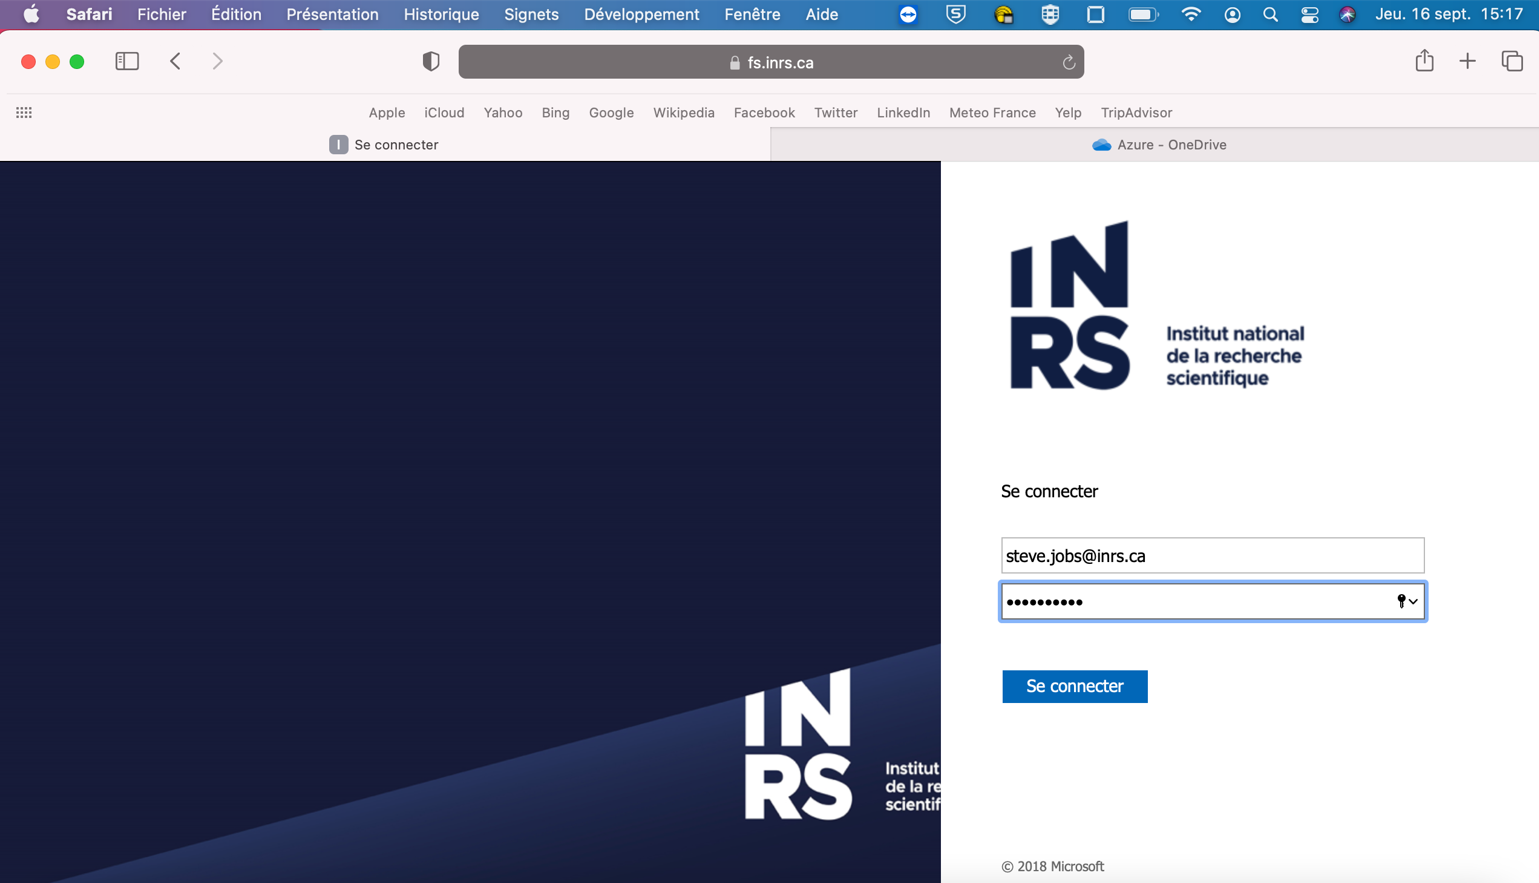
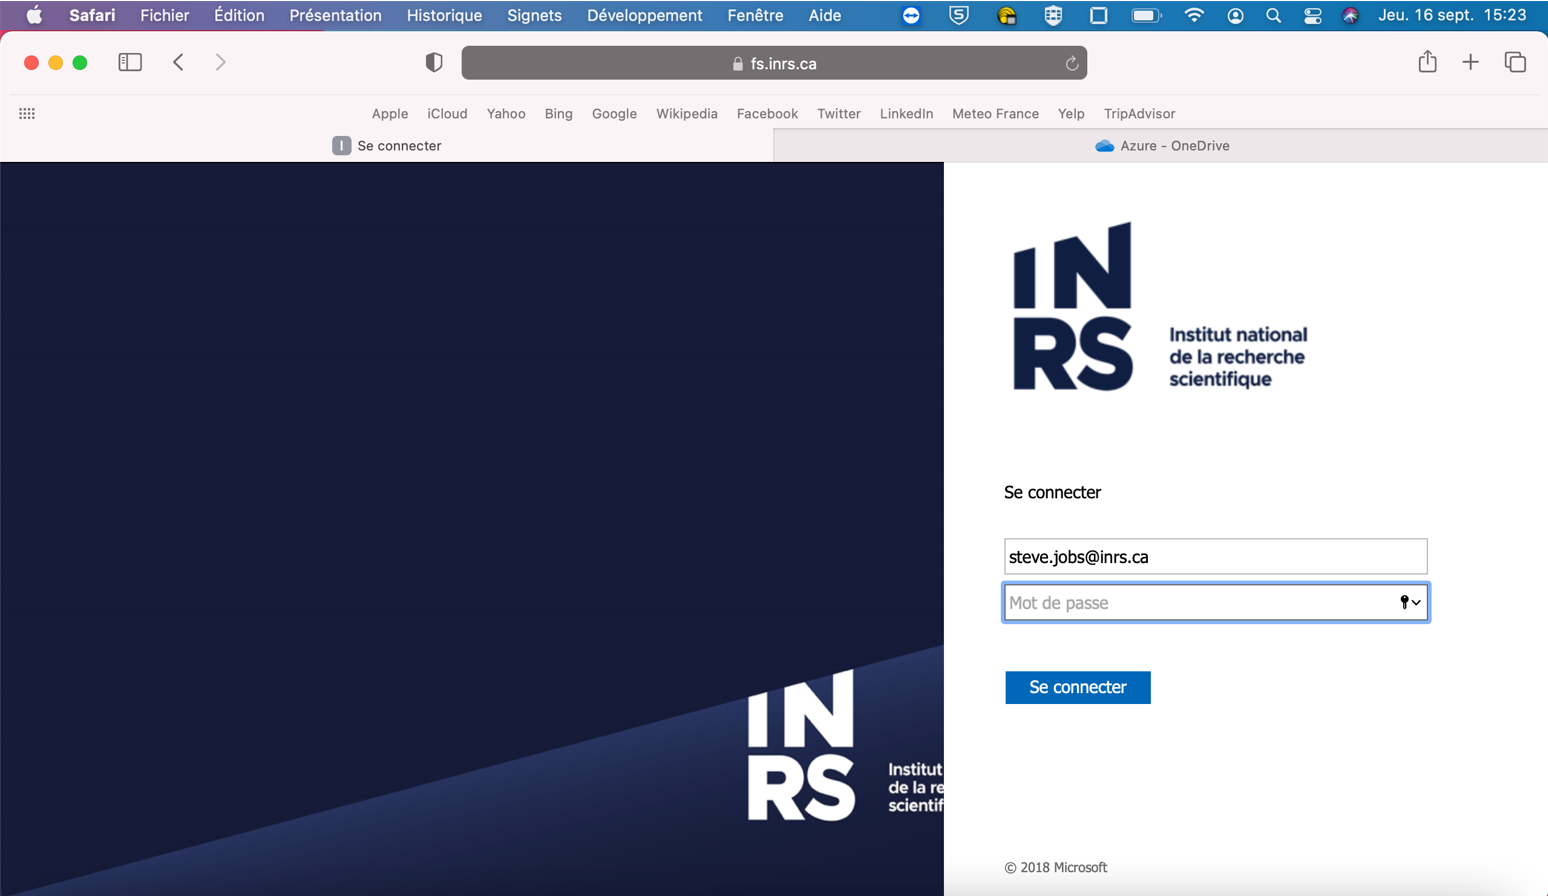
Step 4 : Type in your email address and your password on the fs.inrs.ca page. Then click Sign in.
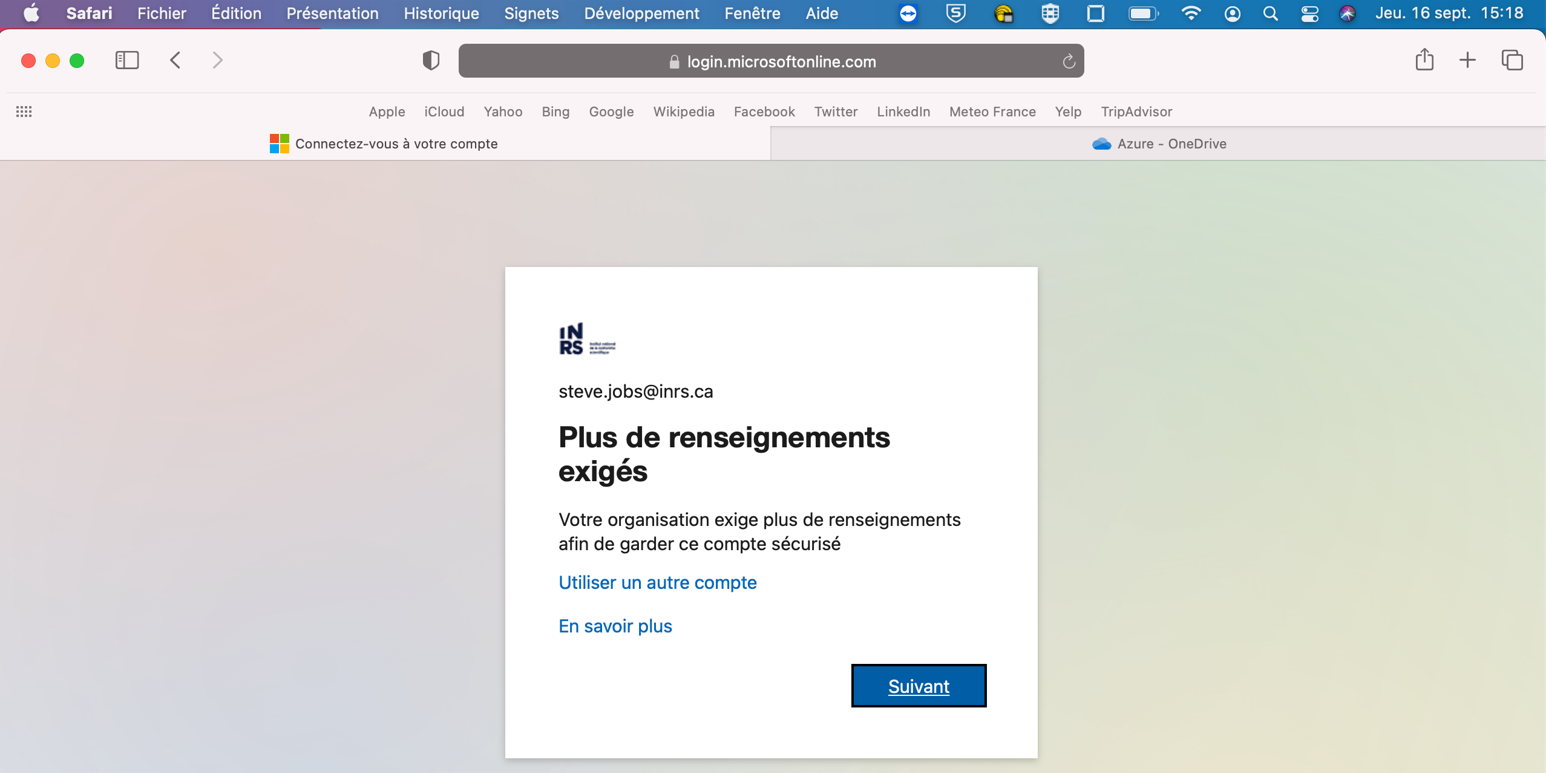
Step 5 : Click Next on the Microsoftonline login page.
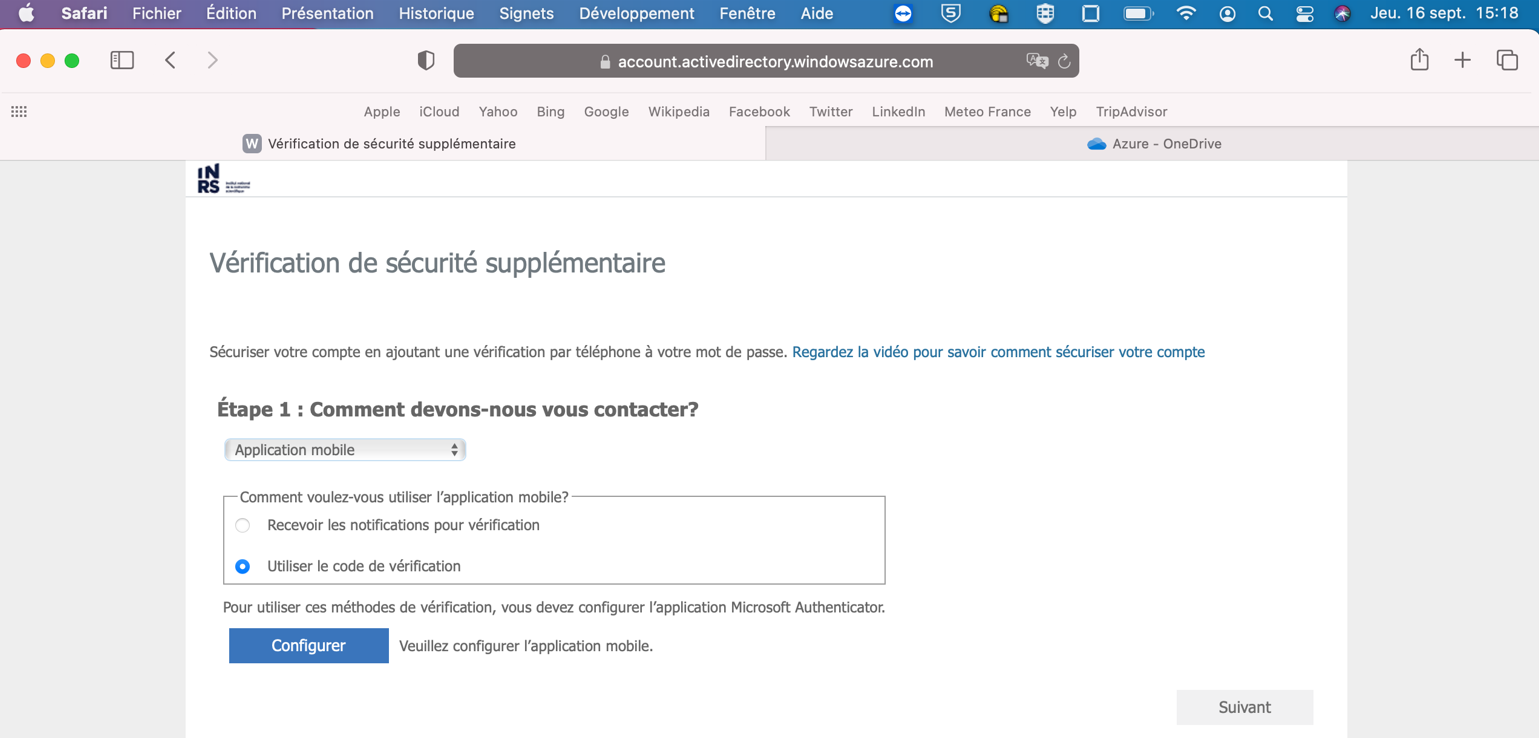
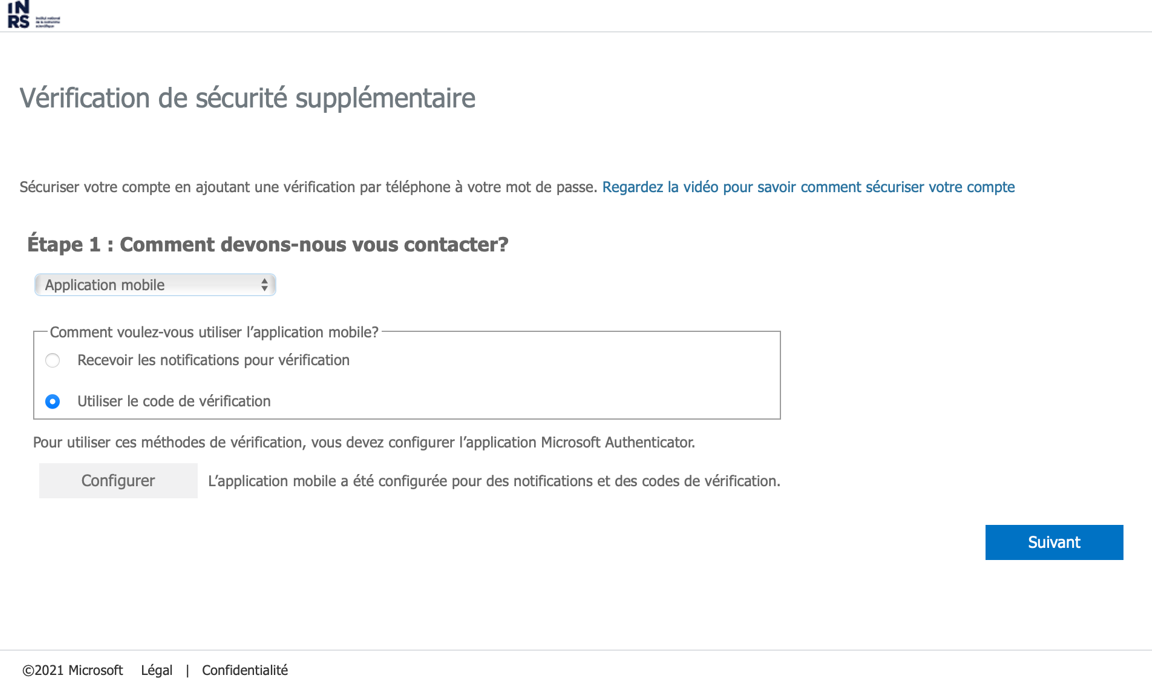
Step 6 : Select Mobile Application, check Use verification code then click on Configure
Step 7 : Keep the Configure mobile app page open and go on your phone

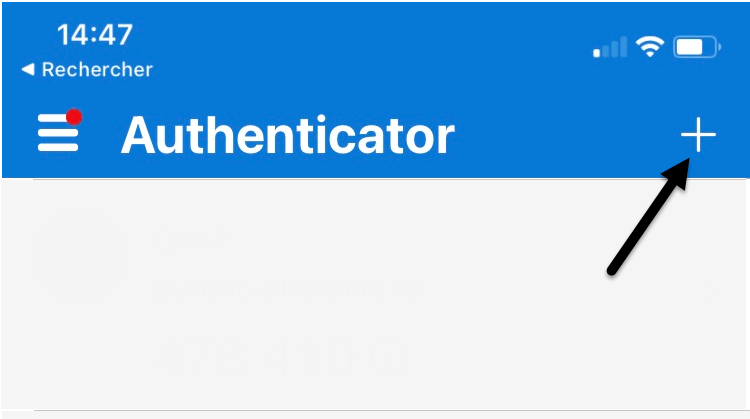
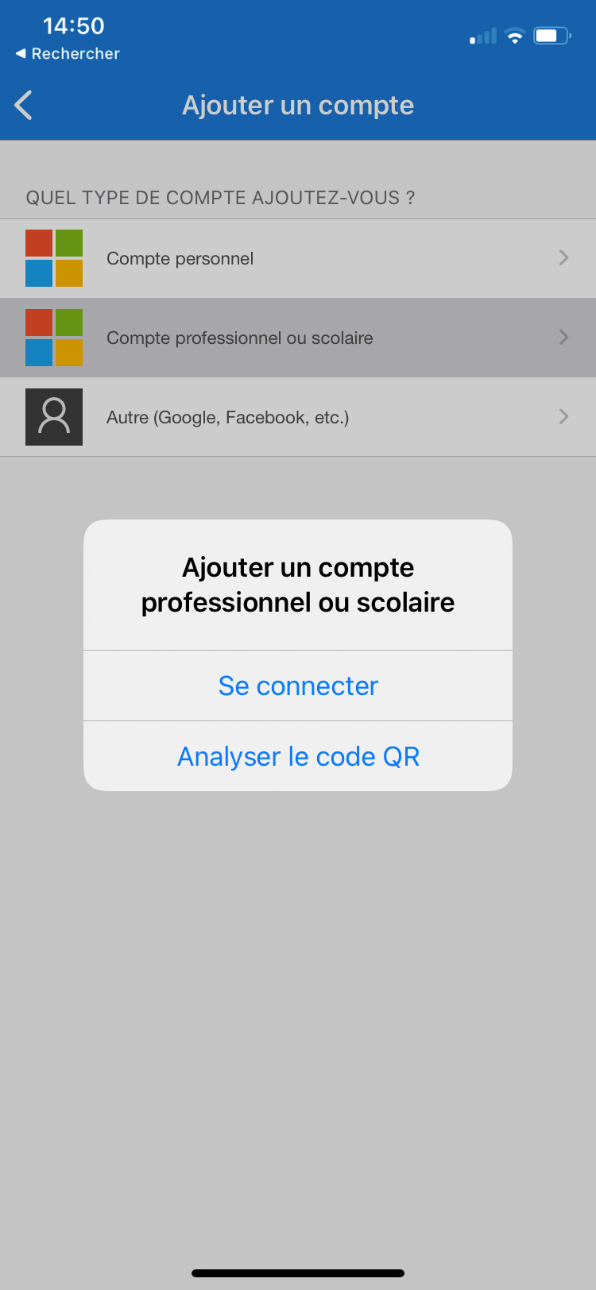
Step 8: Open Microsoft Authenticator app on your phone then click Add account
Step 9: Click on Work or school account and then click on Scan a QR code
Step 10: Scan the QR code on your computer screen with the phone. Then click Autorize.

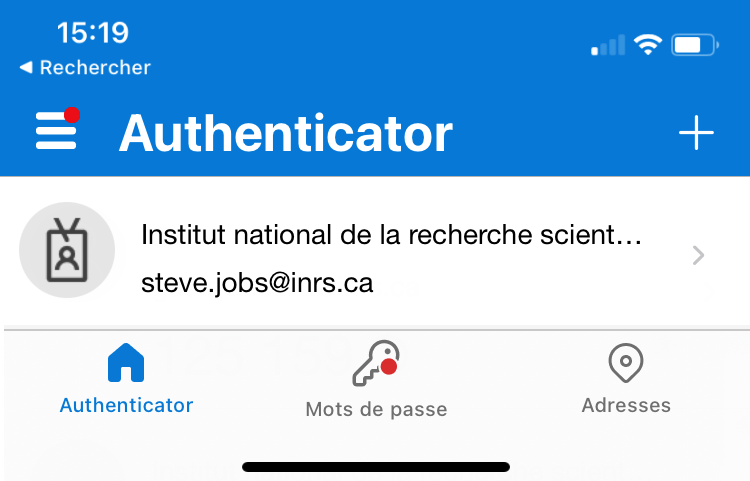
Step 11: After you autorized the QR code, you will see your email address on the Authenticator app.
Step 12: Back to your computer, click on Next.

Step 13: Click Next again on this screen.
Step 14: Go on the Authenticator app on your phone, then click on your email address. Take note of the password.

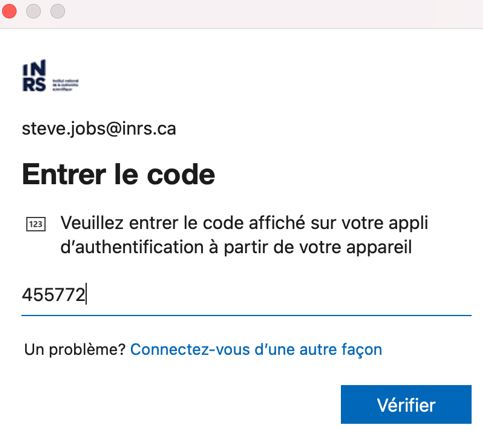
Step 15: Go back on your computer, type in the pass code then click on Verify

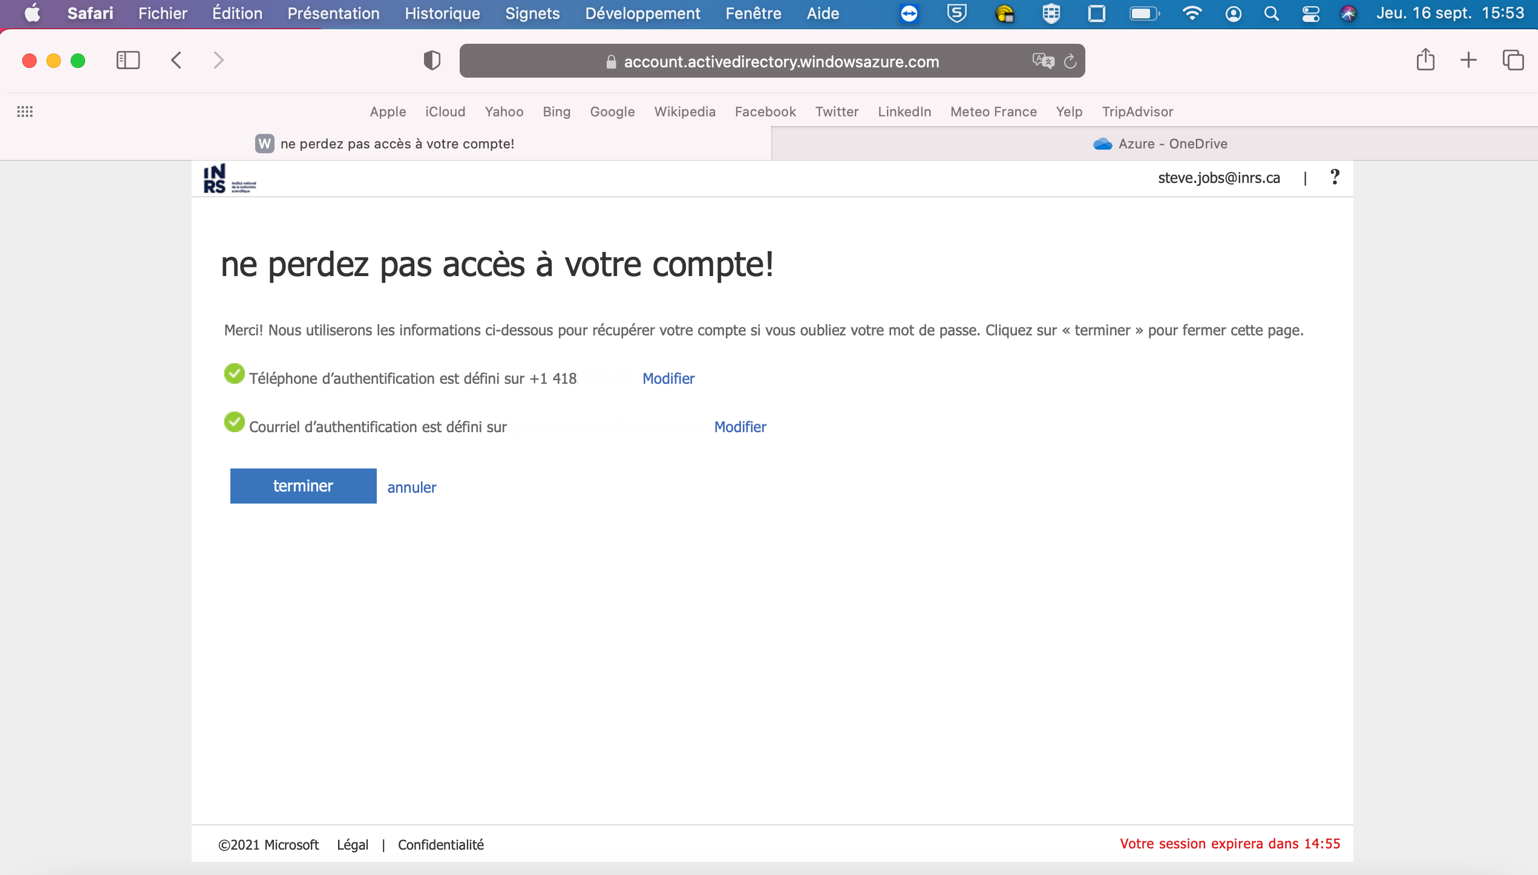
Step 16: Type in your mobile phone number to add an additionnal security verification, then click on Finish.

Step 17: Go to Authenticator on your phone, click on your email addess, take note of the pass code (the code changes every couple seconds). Type in the pass code in the Enter code window on your computer, check Don’t ask again for 90 days and then click onVerify.

Step 18: Click on enter your password again

Step 19: Type in your email address and your password, then click Connexion
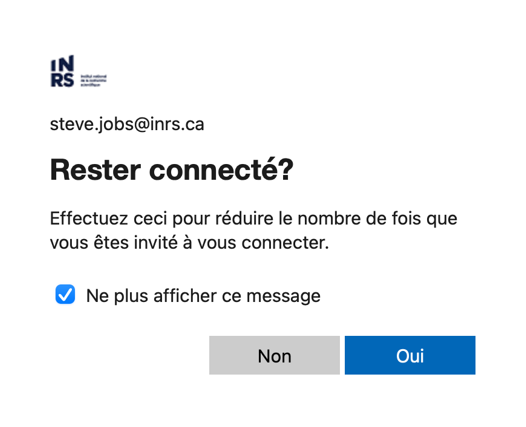
Step 20 : Check Do not show again and click on Yes
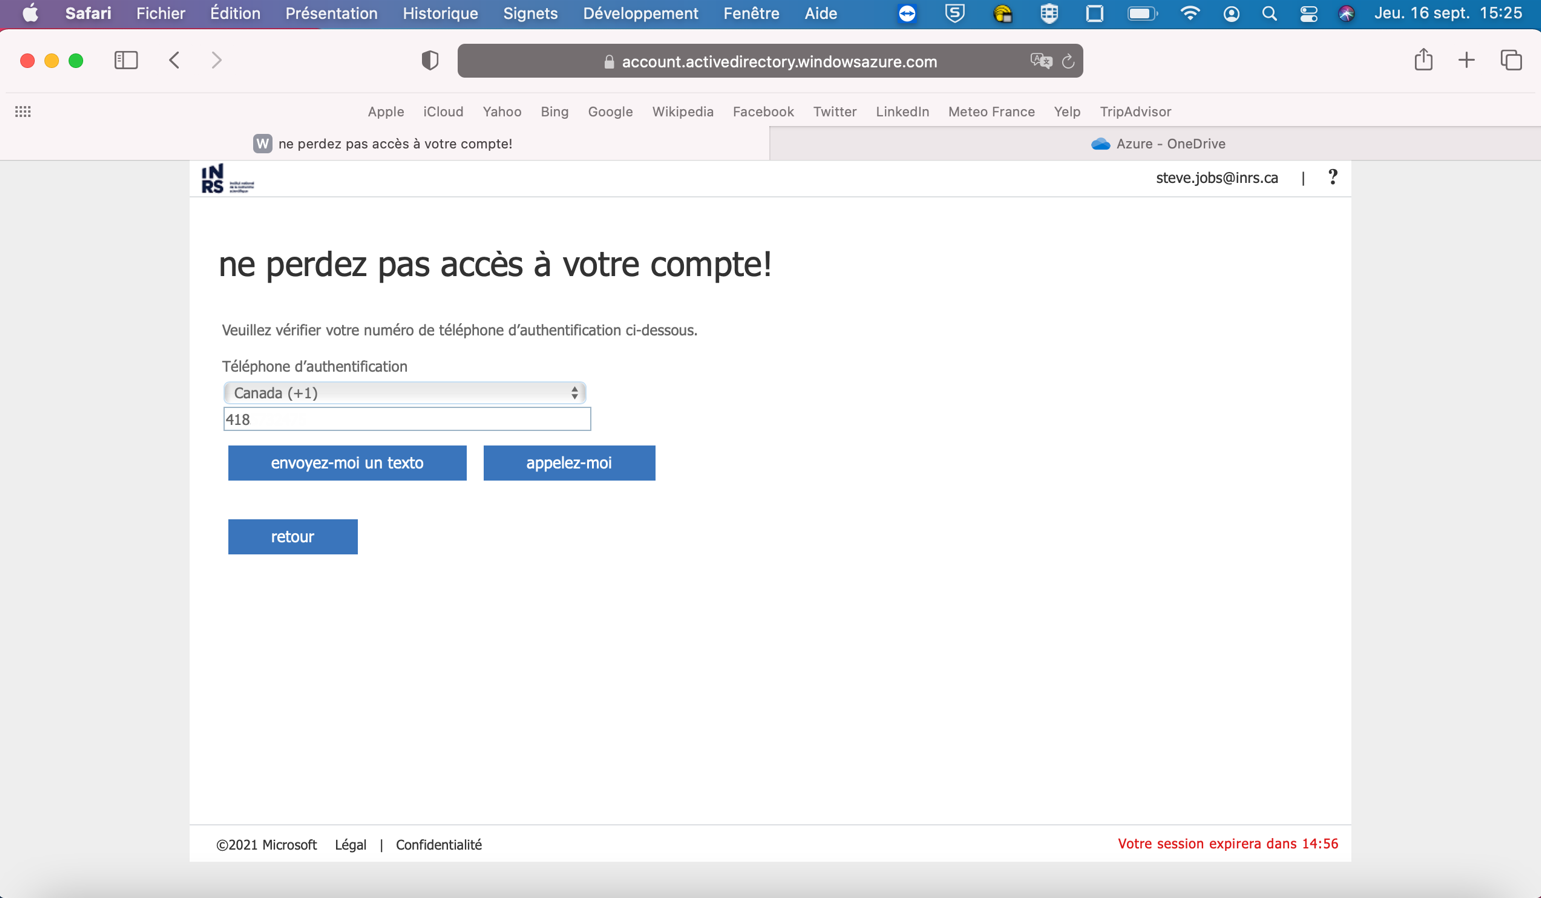
Step 21: Click on Vérifiy for the phone verification.
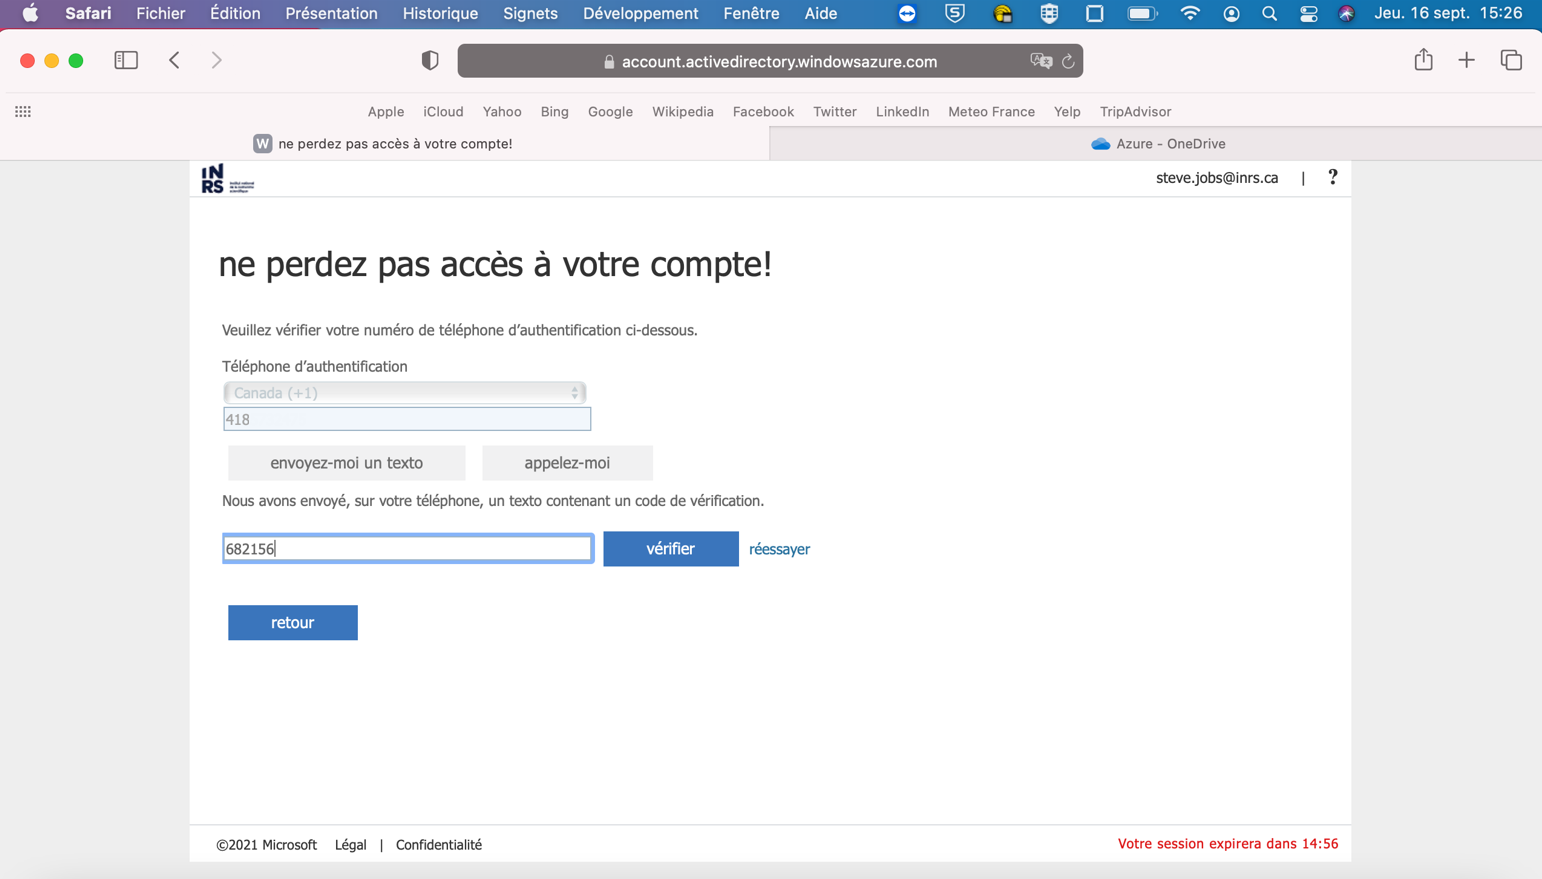
Step 22: Select Canada (+1) and type in your mobile phone number and click on send SMS
Step 23: Take note of the verification code you received on your phone
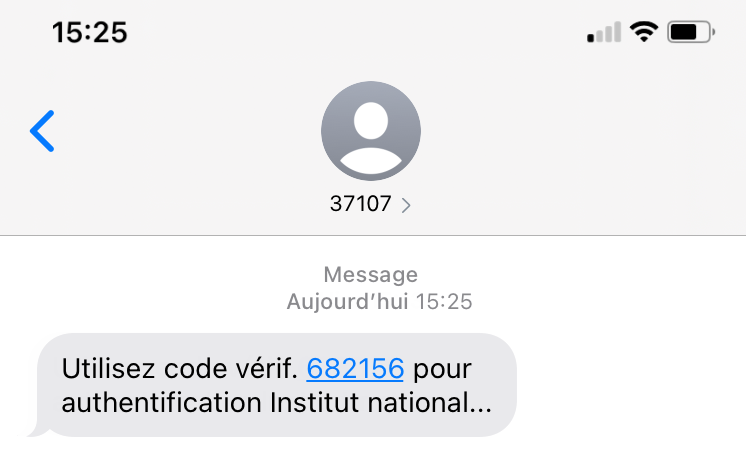
Step 24: Type in the code and click Verify
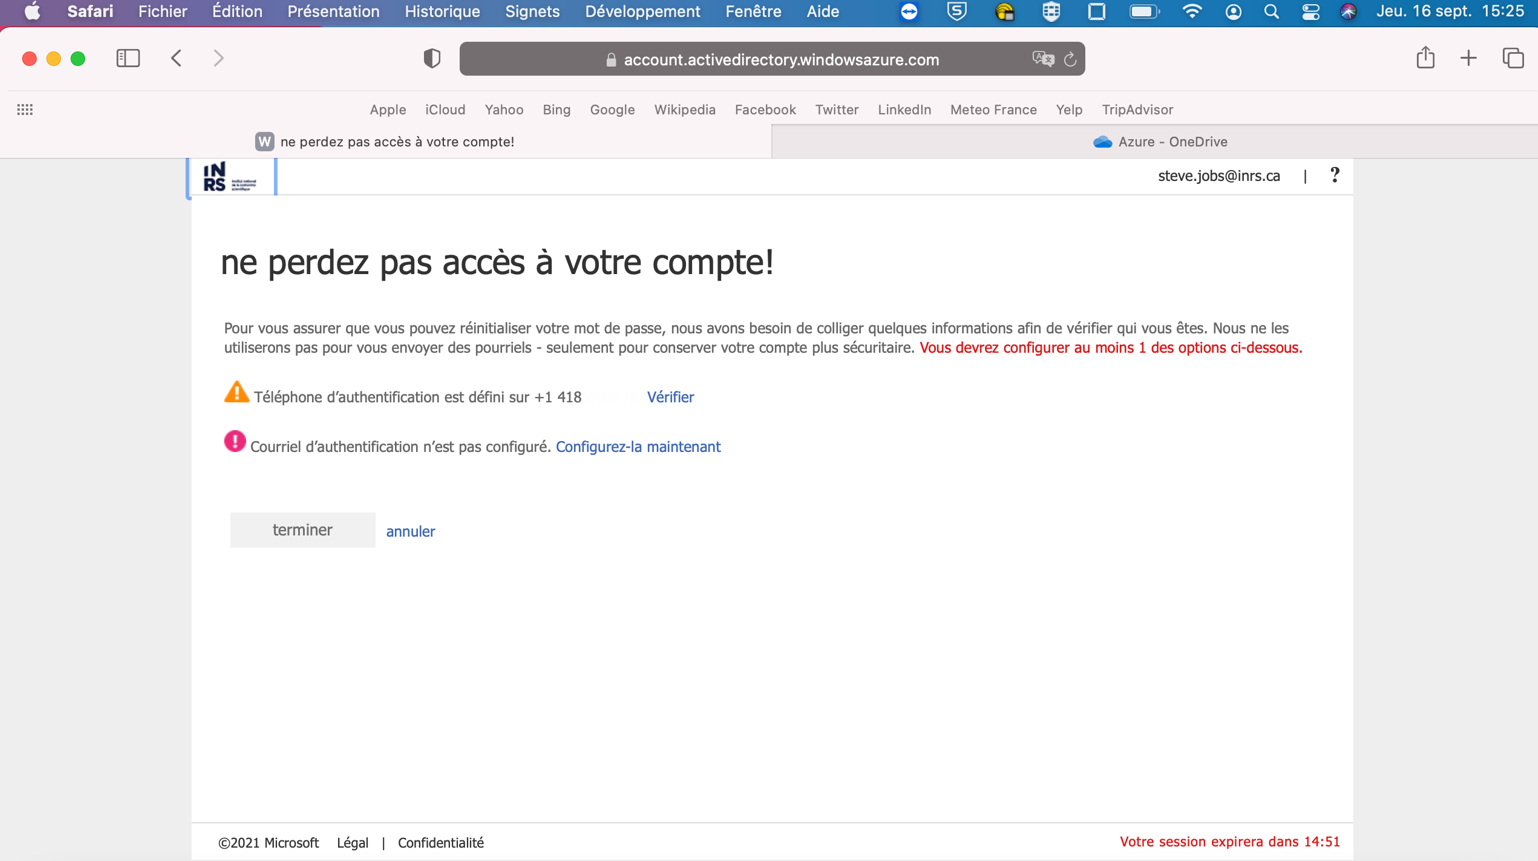
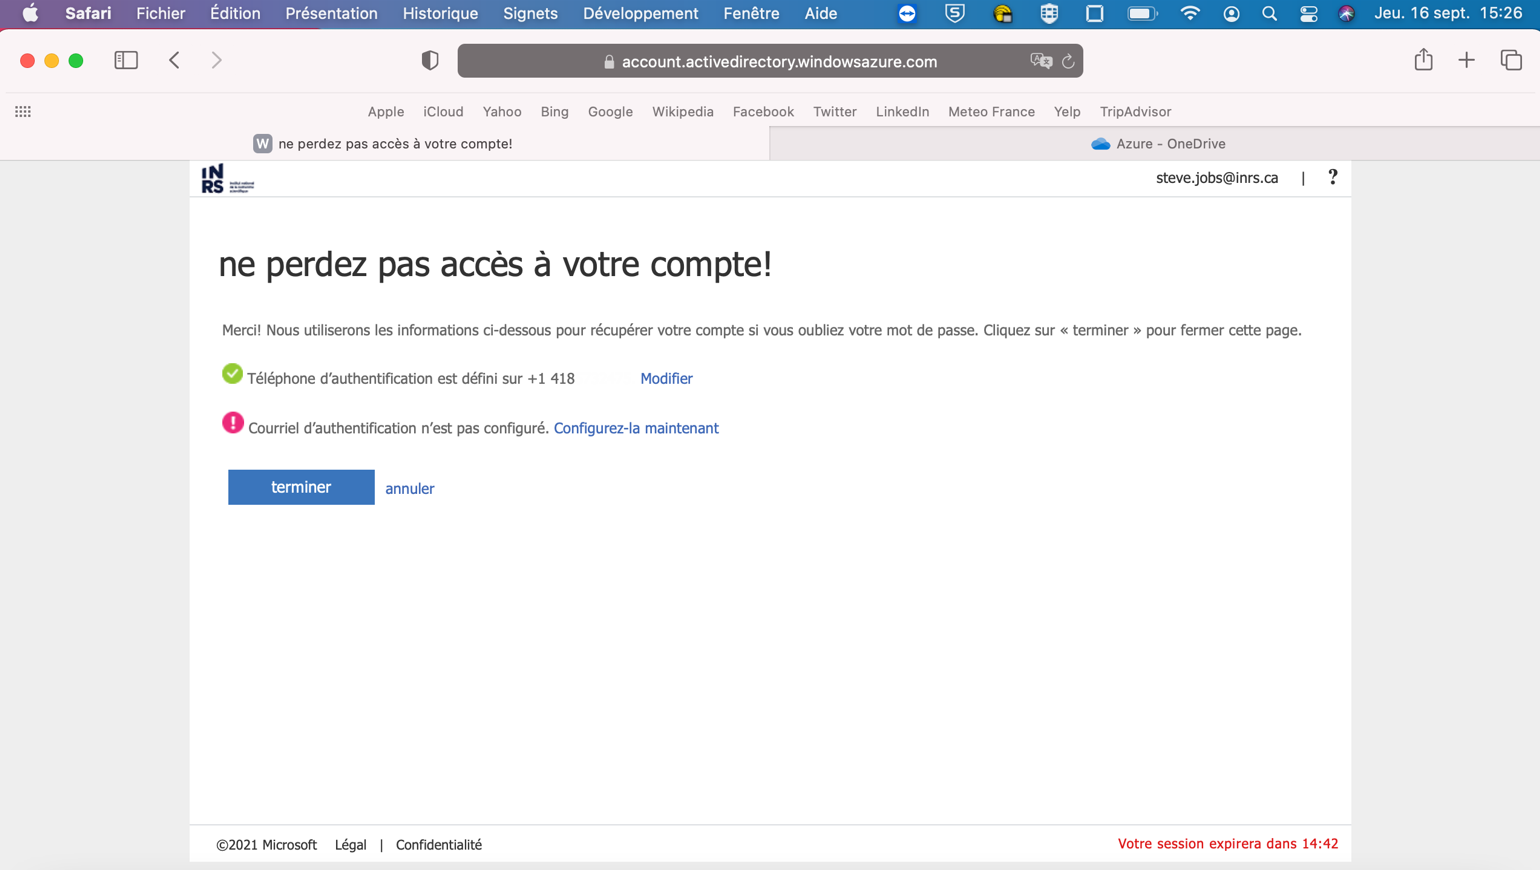
Step 25: Click on Configure now for the secondary email address.
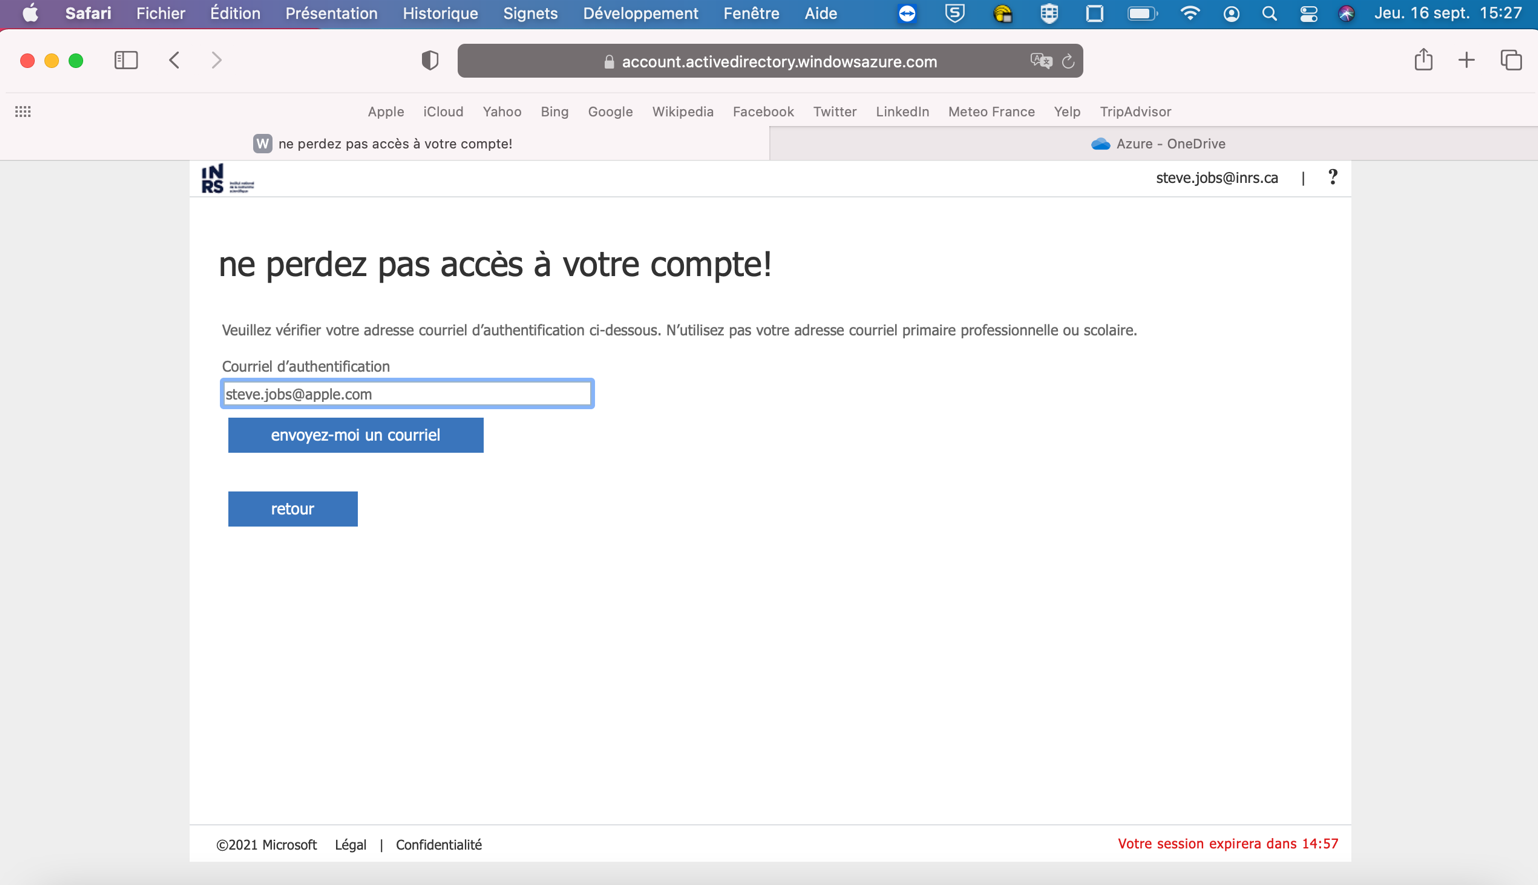
Step 26: Type in your personnal email address (not INRS email) then click on send me an email
Step 27: Go on your personnal email account to get the pass code.
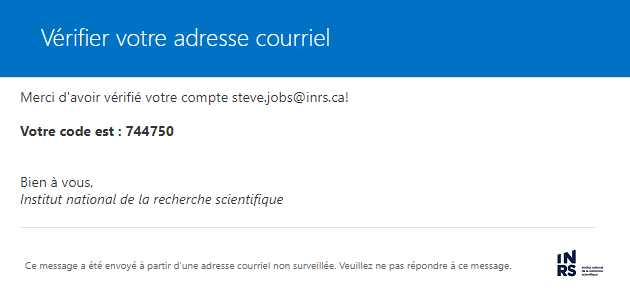
Step 28: Type in the code then click verify

Step 29: Click on Done
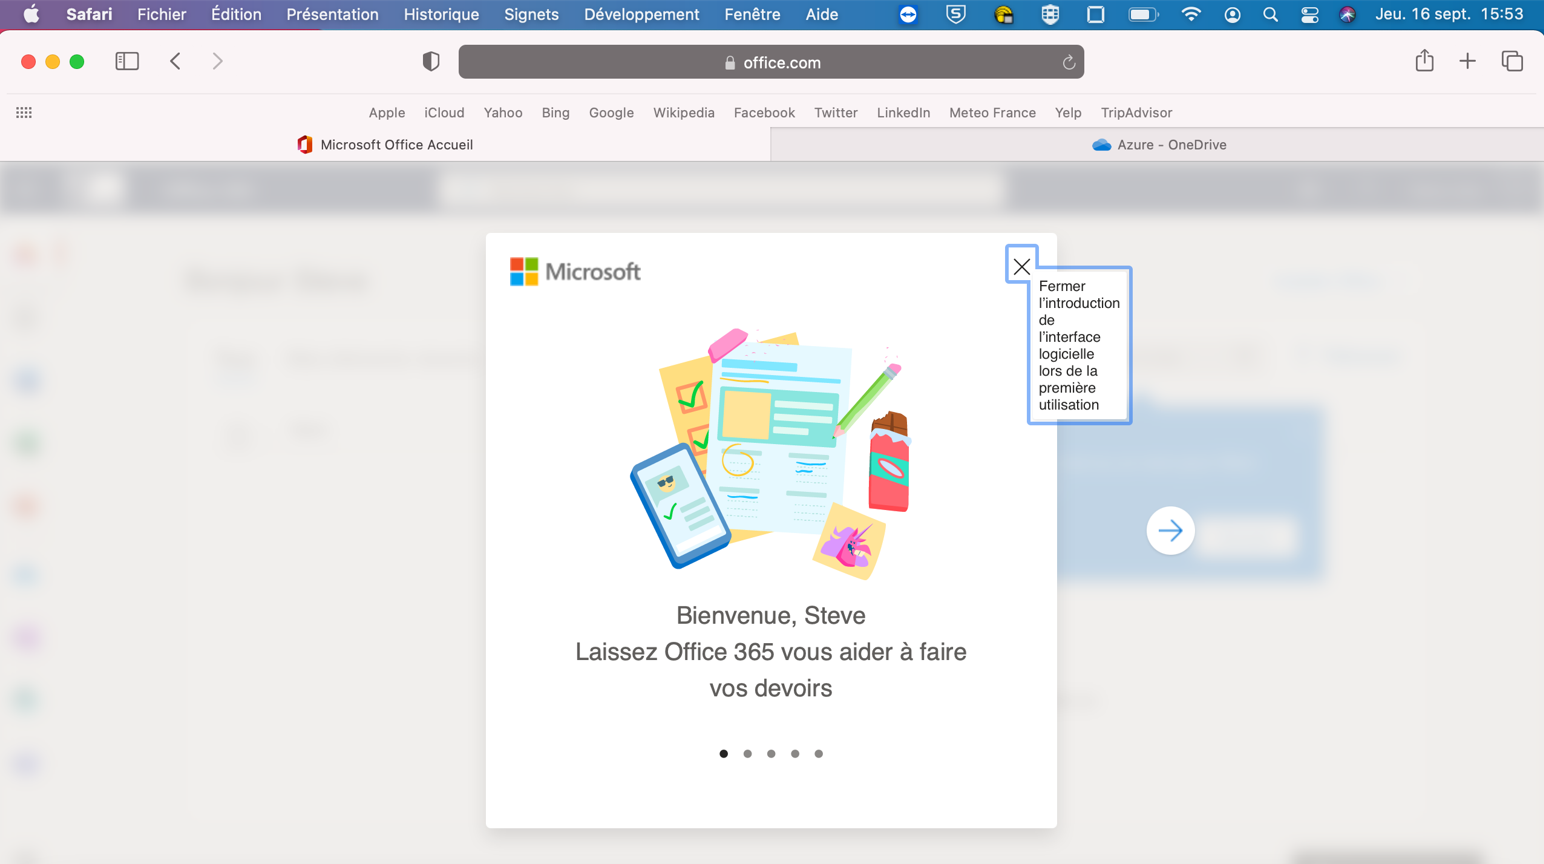
Step 30: Close the Welcome window
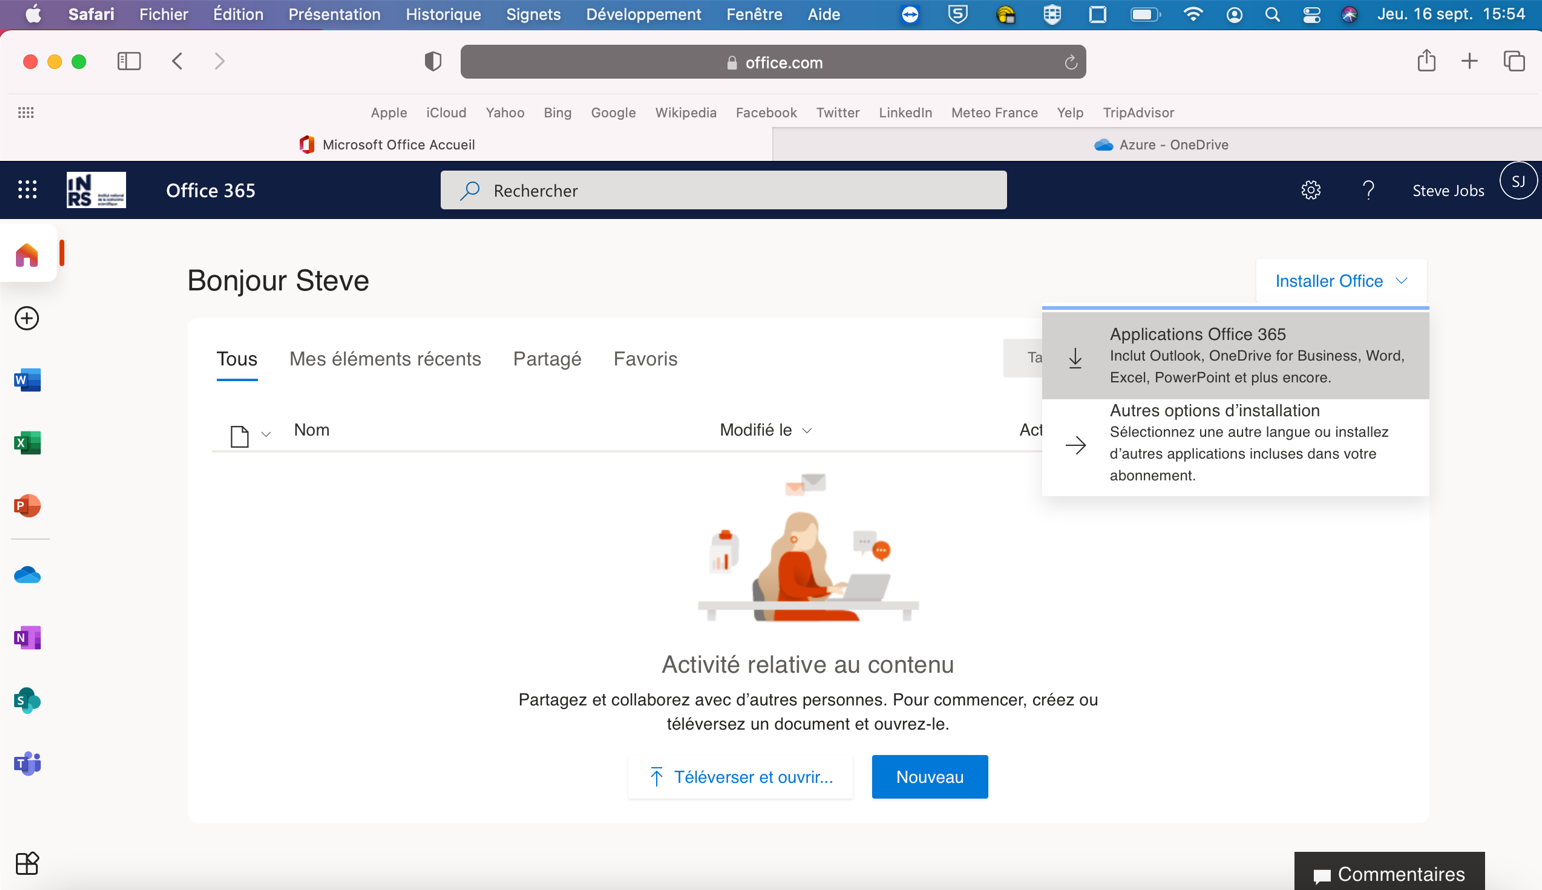
Step 31: When Office is uninstalled, go back on Microsoft Office homepage that you previously visited, then click Install Office and Office 365 Applications
Step 32: Click Autorize for the downloads

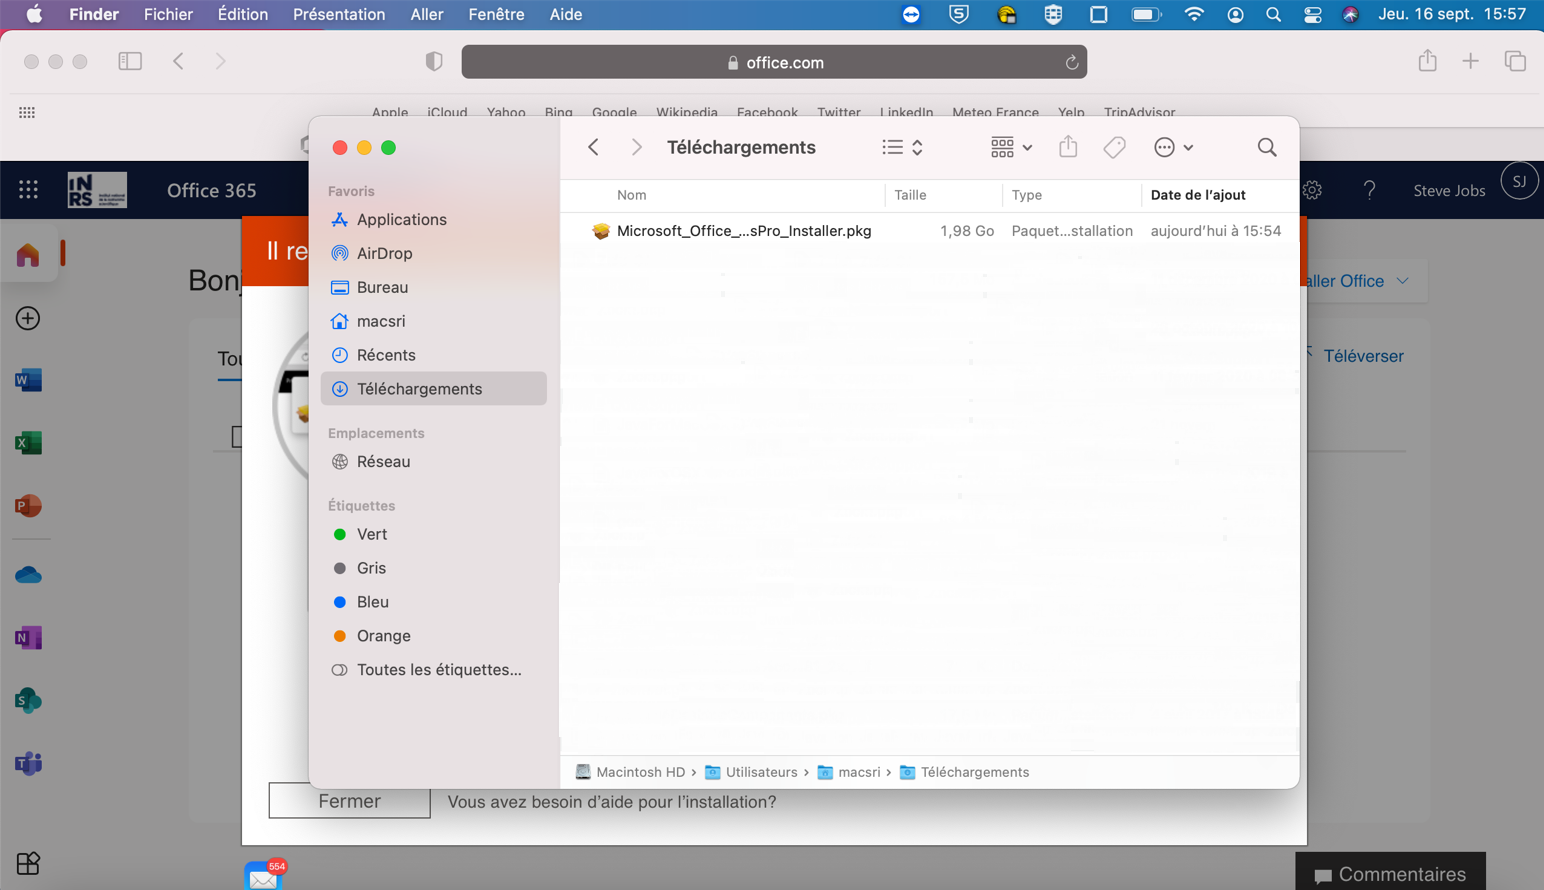
Step 33: Go to Finder, Downloads and click on Microsoft_Office_..sPro_Installer.pkg file to start the installation
Step 34: Click on Continue

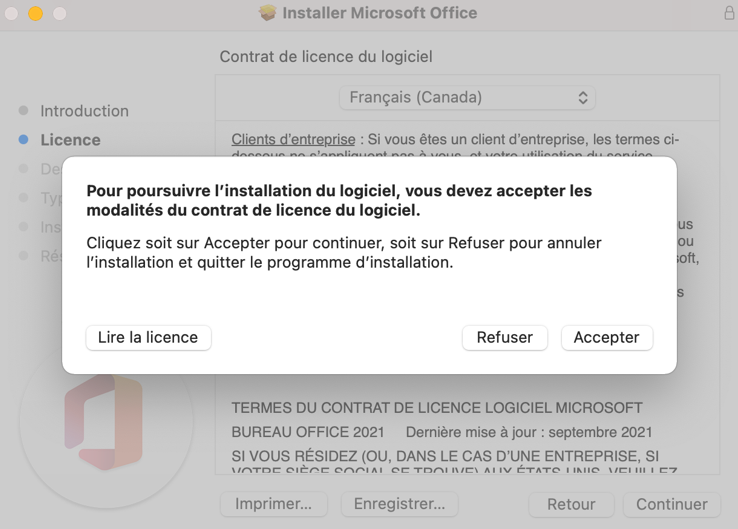
Step 35: Click on Continue again and then Accept to accept Office terms
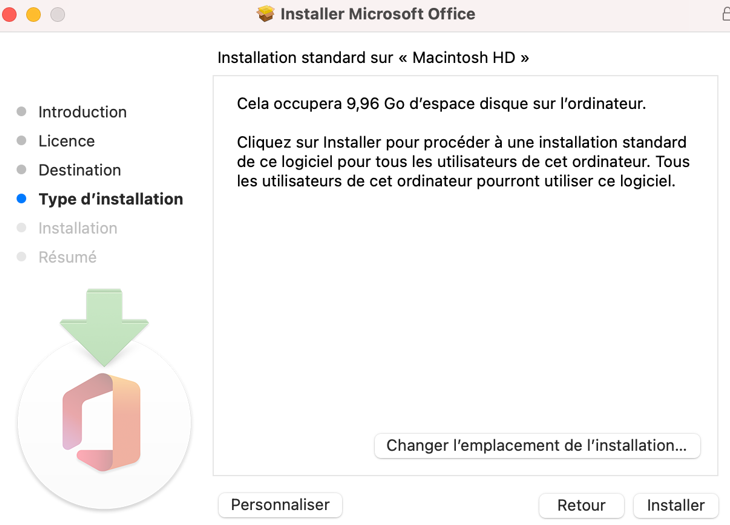
Step 36: Click on Install
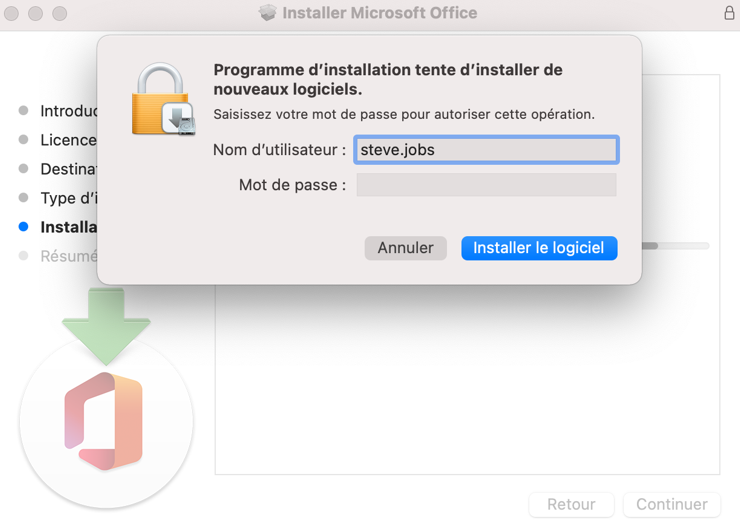
Step 37: Type in your username and password to autorize the installation
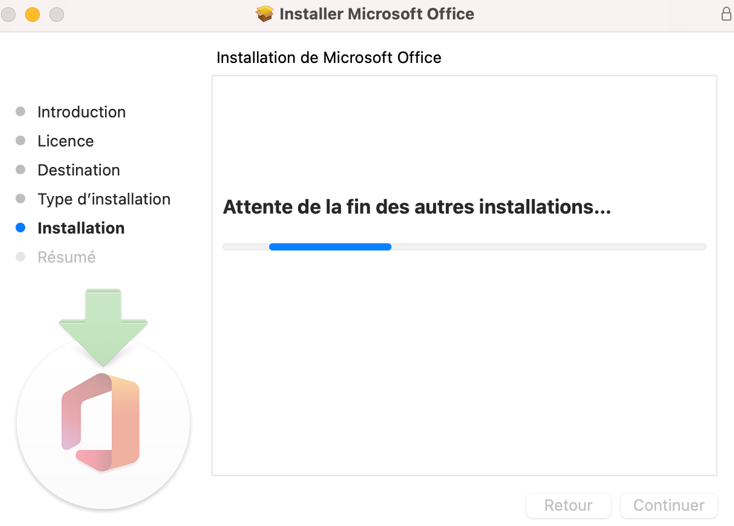
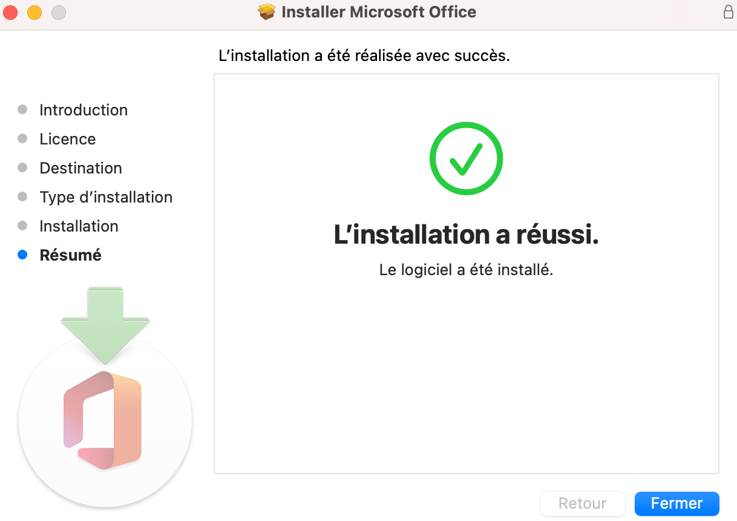
Step 38: Wait for the installation to finish
Step 39: The installation is done
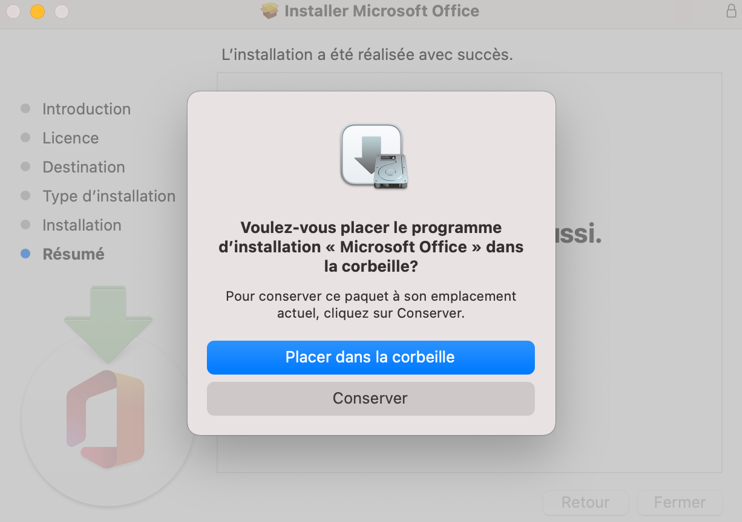
Step 40: You can safely delete the installation file
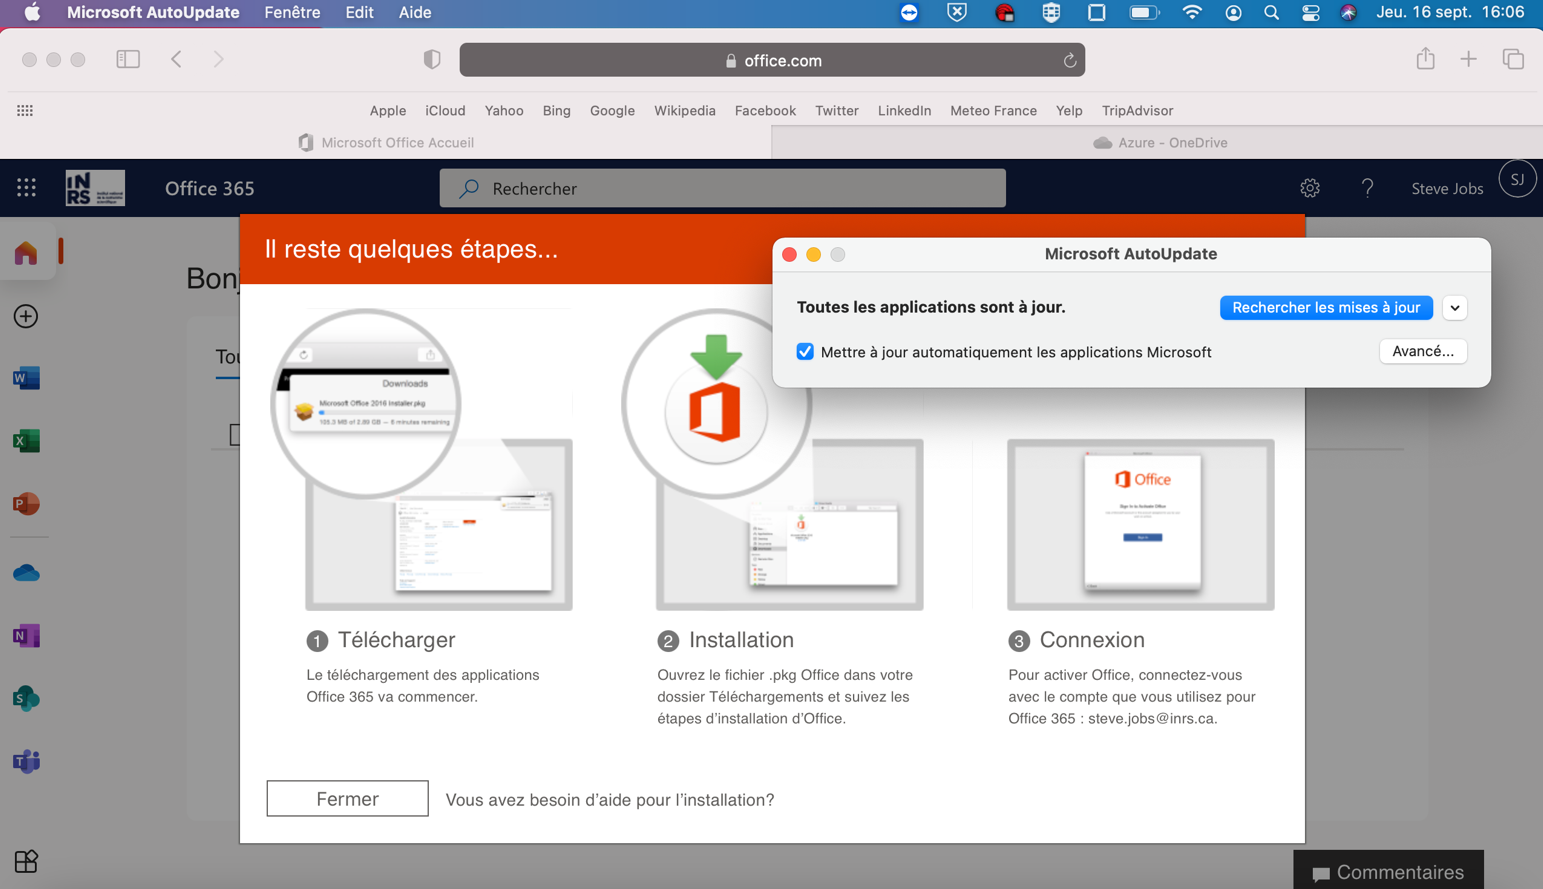
Step 41: Wait for the update to install
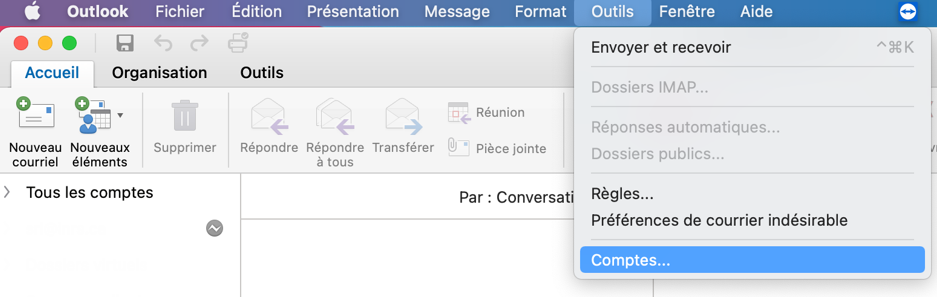
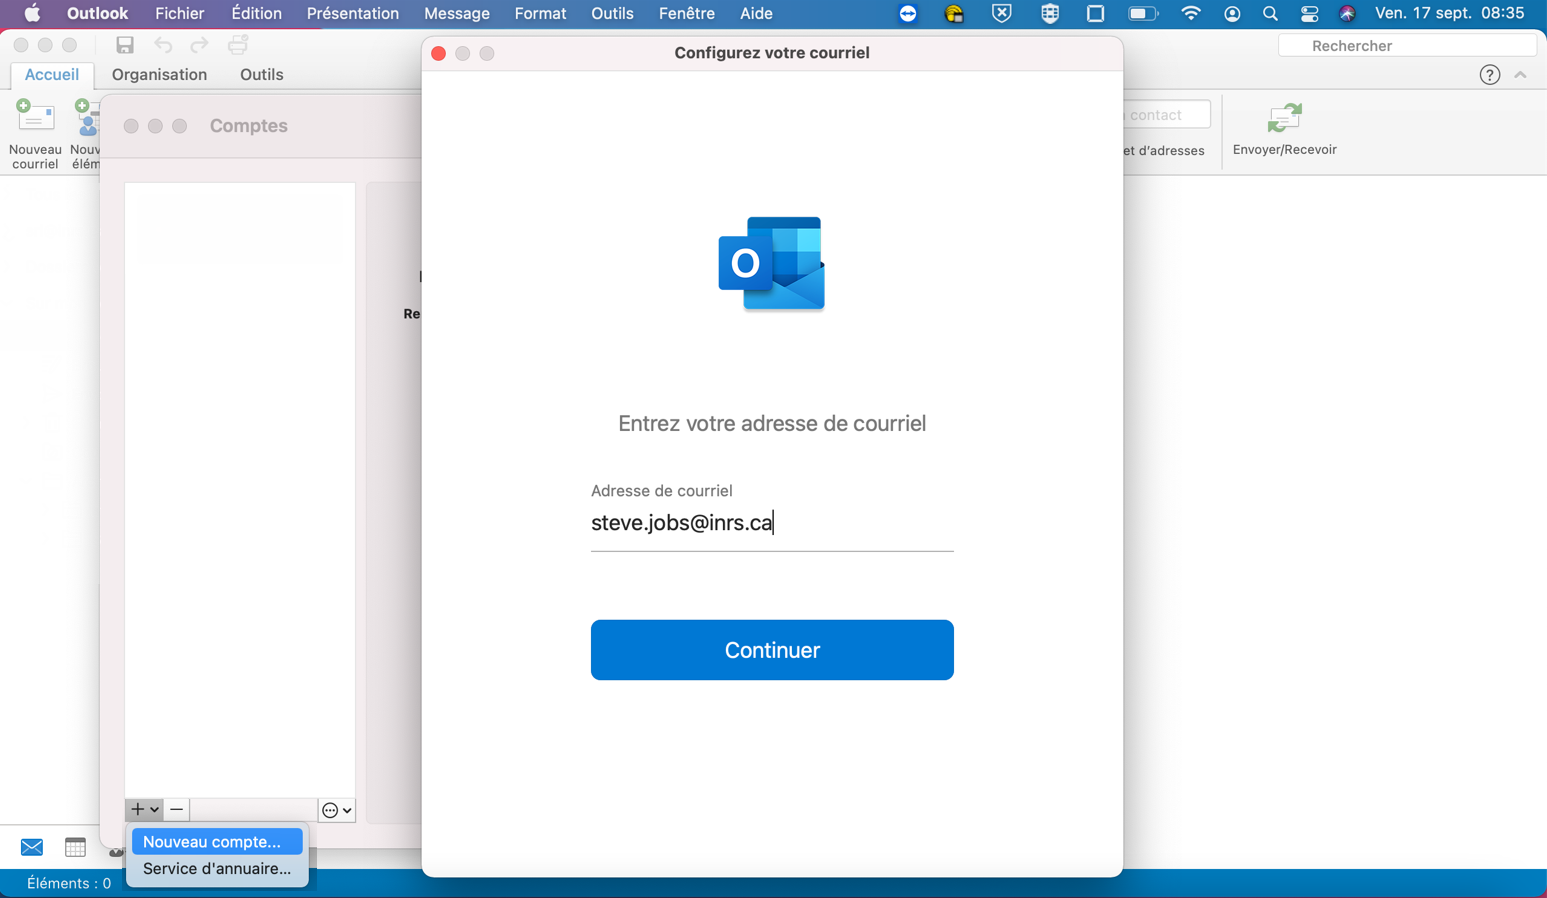
Step 42: Launch Outlook, then Tools, then Accounts.
Step 43: Click sur New account, enter your email address then click Continue
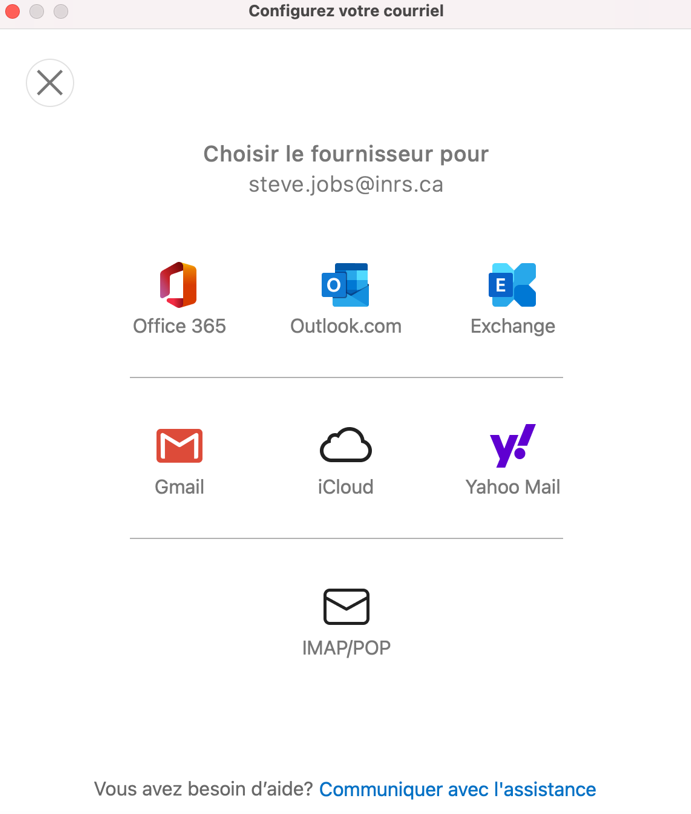
Step 44: If Outlook ask your provider, choose Office 365
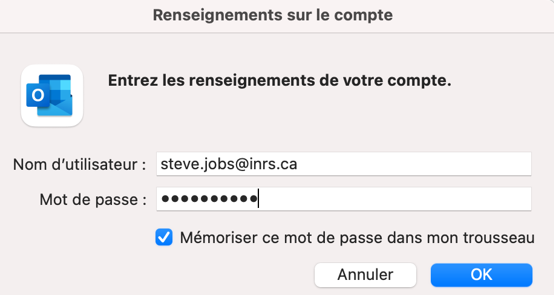
Step 45: Type in your email address and pass INRS, OK
Step 46: Click OK to finish your account configuration

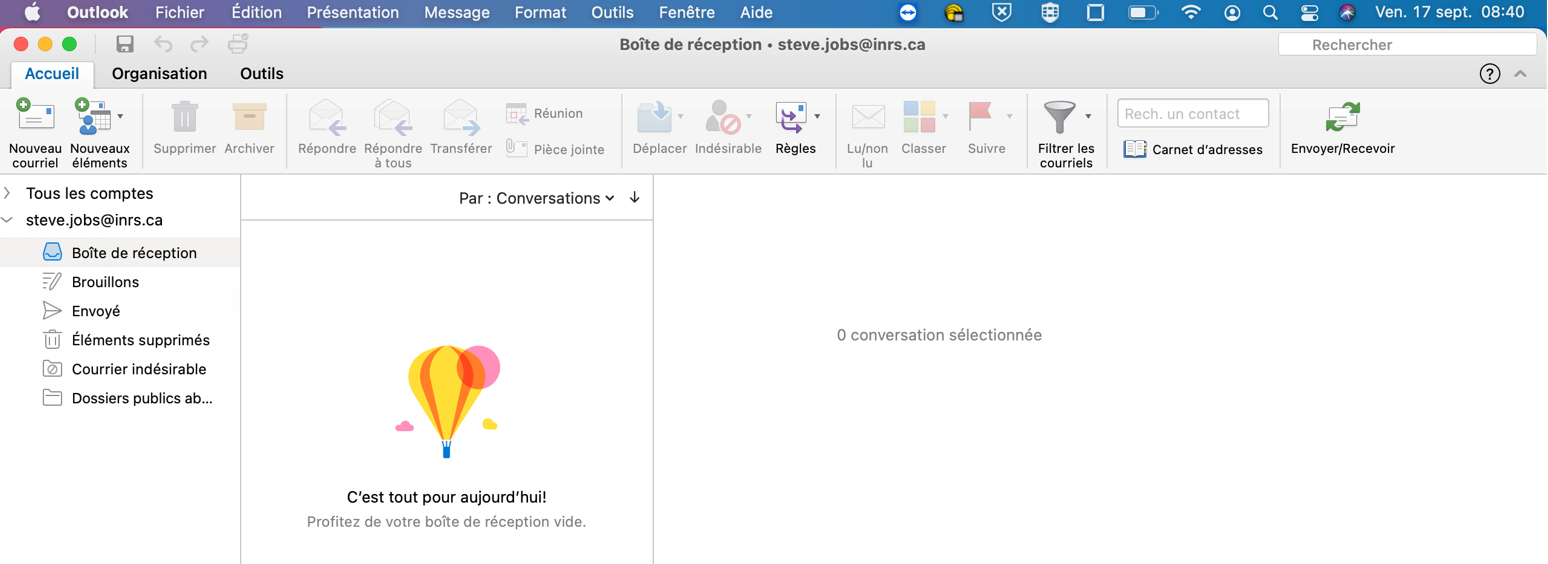
Step 47: Outlook is configured
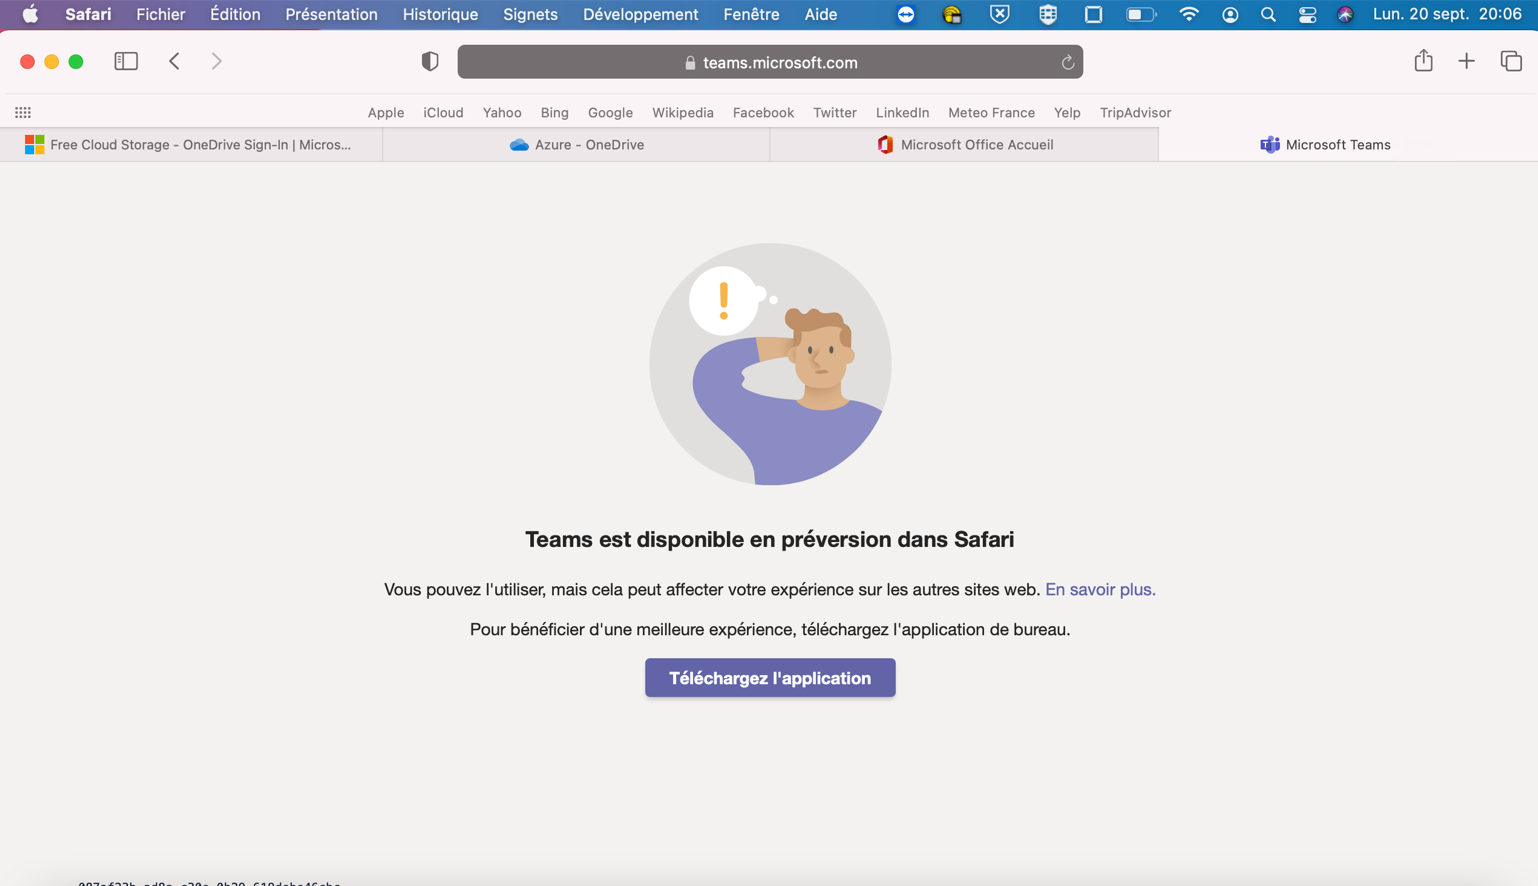
If you wish to installer Teams on your computer, you can use the following steps
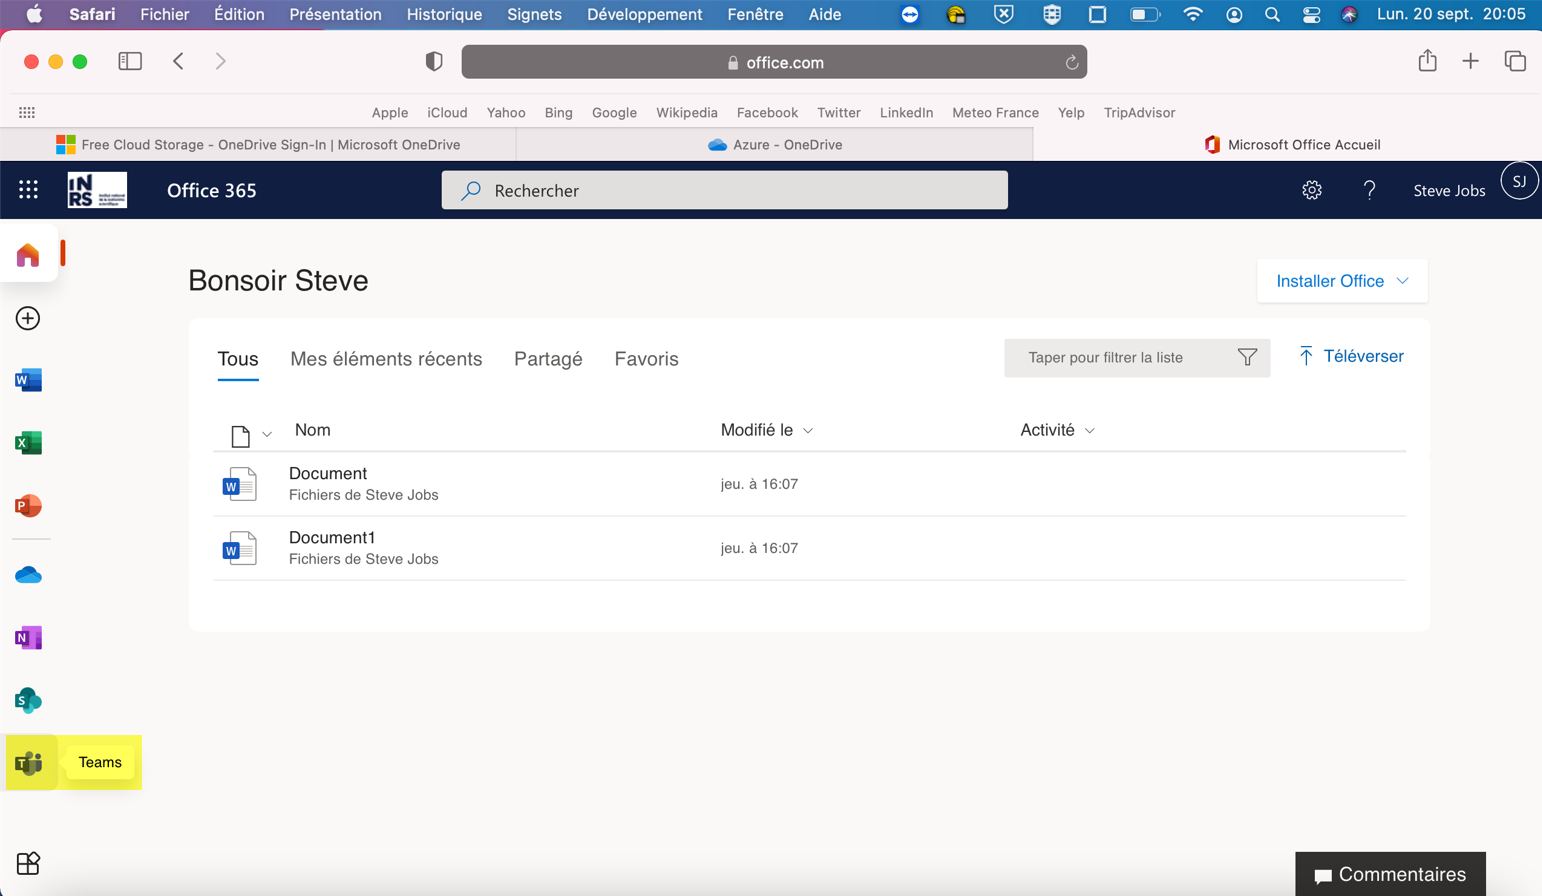
Step 48: To install Teams, go back to office.com, click on Teams (left), then click on the downward arrow to download the desktop application. Click on the Teams_windows_x64 file to start the installation
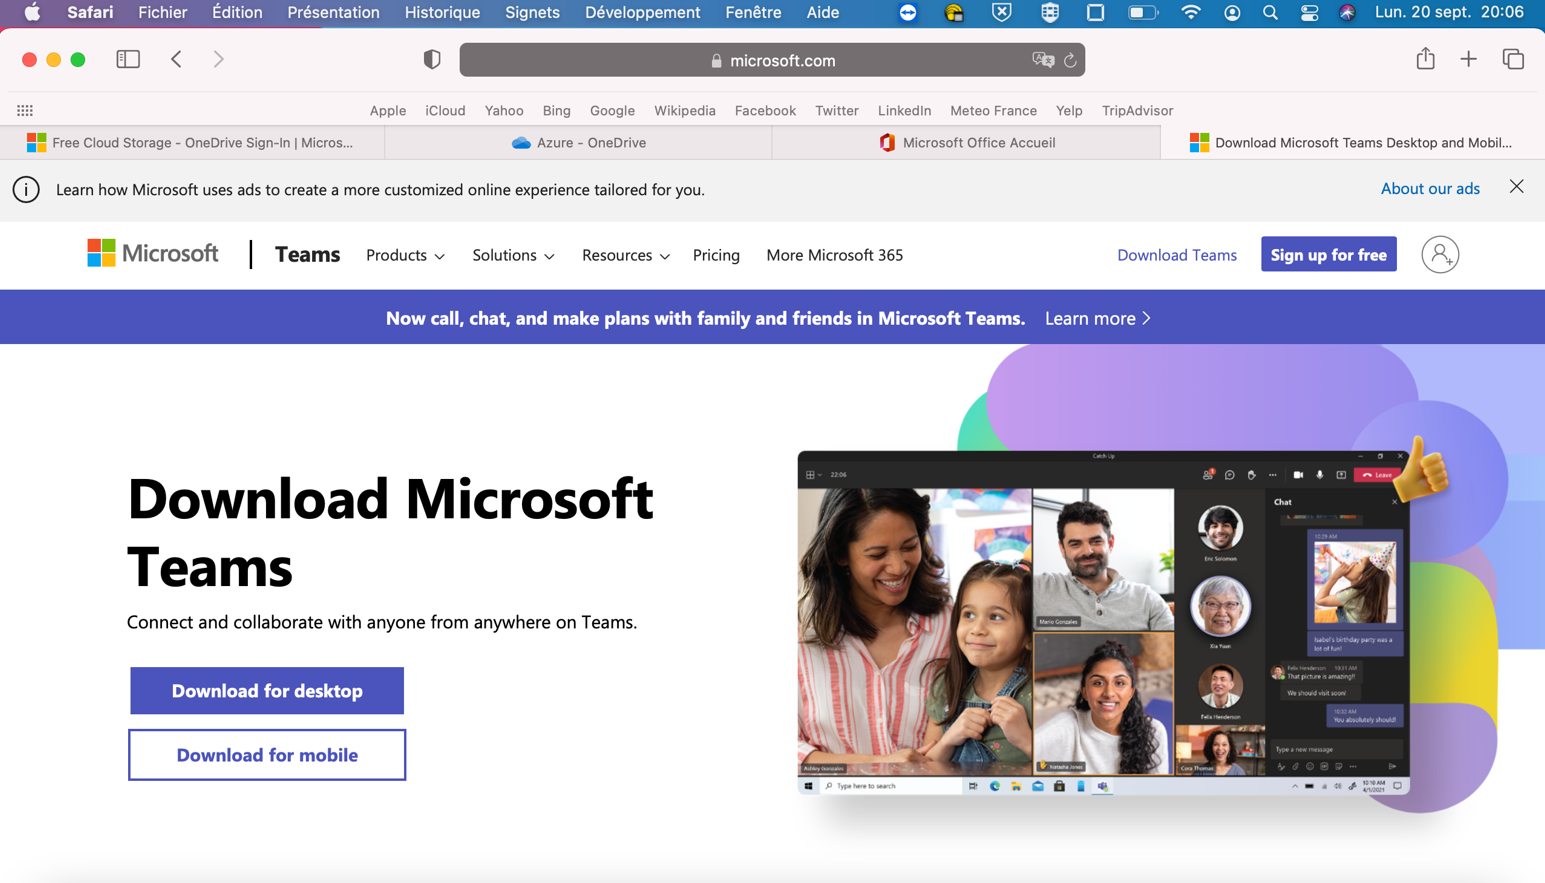
Step 49: Click on Download application
Step 50: Choose your language. Then click on Download for Desktop
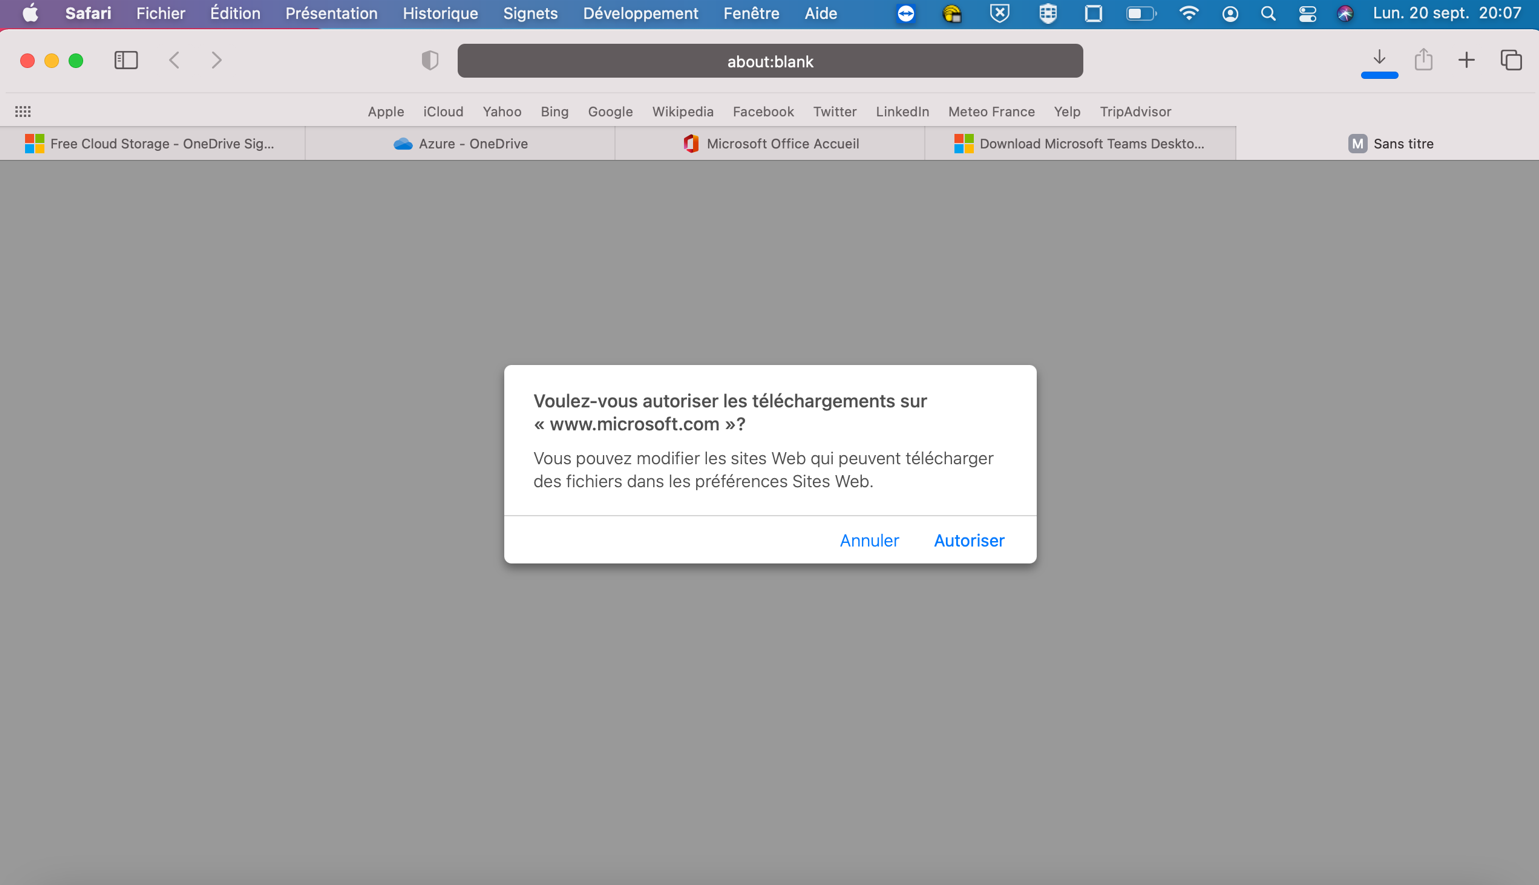
Step 51: Click on Download Teams

Step 52: Click on Autorize
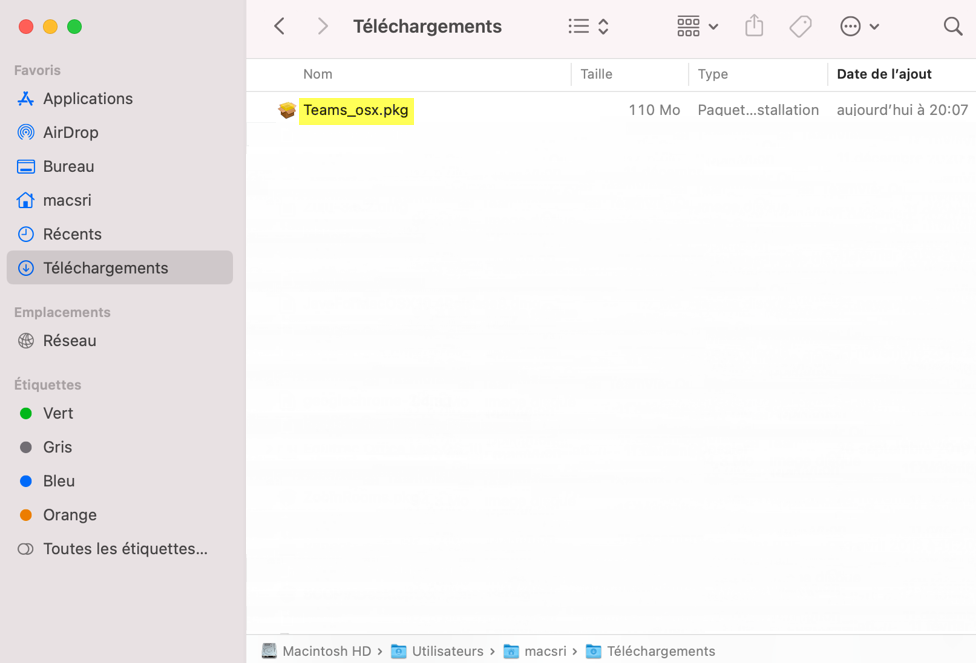
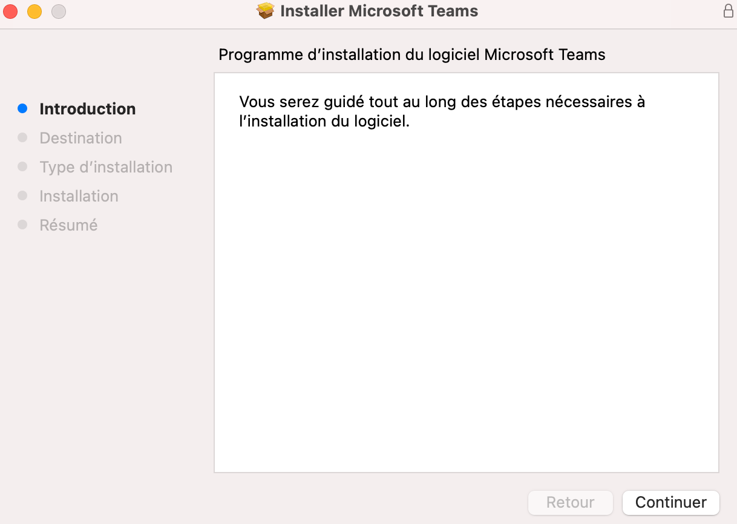
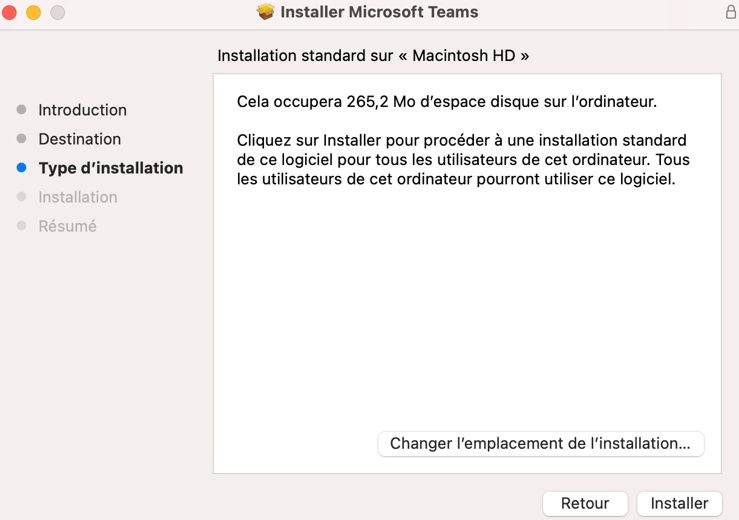
Step 53: Go to Finder, Downloads and double-click on the file Teams_osx.pkg to start installation then click Continue.
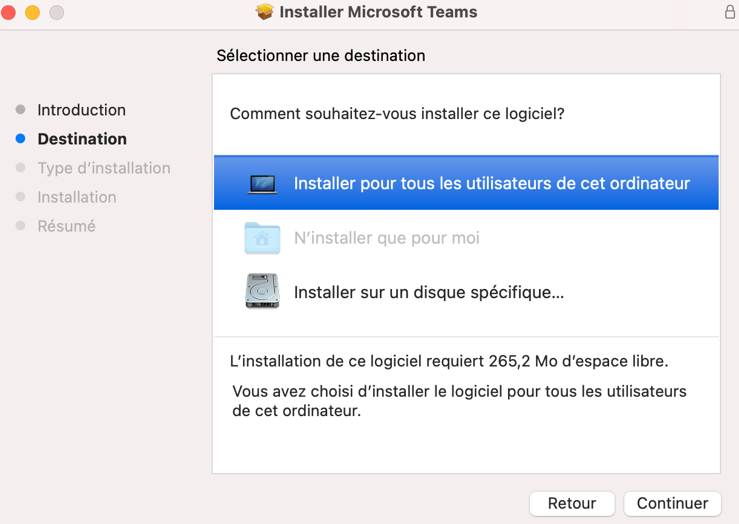
Step 54: Click on Install for all users then Install
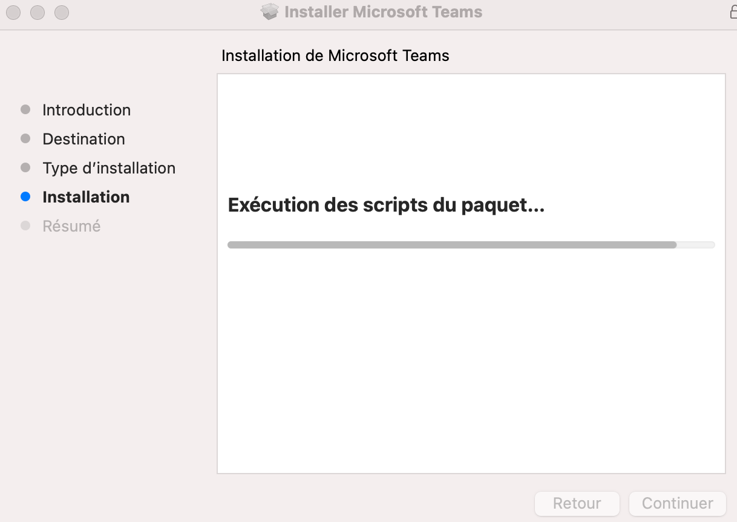
Step 55: Type in your username and password to autorize the installation

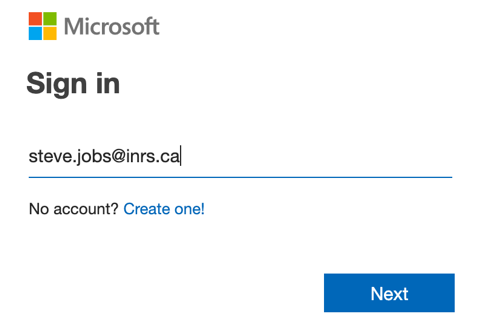
Step 56: Click on Get started

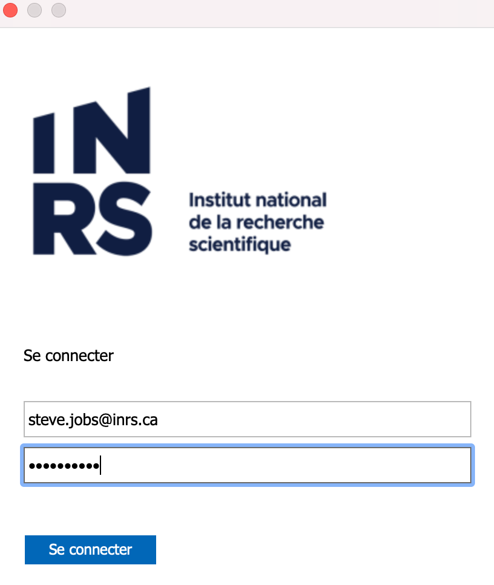
Step 57: Type in your email address and click Next
Step 58: Type in your email address and password and click Se connecter
Step 59: Go to Authenticator on your phone, click on your email addess, take note of the pass code (the code changes every couple seconds). Type in the pass code in the Enter code window on your computer, then click onVerify.
Step 60: Click on OK. Installation is done


If you wish to install OneDrive on your computer, you can use the following steps
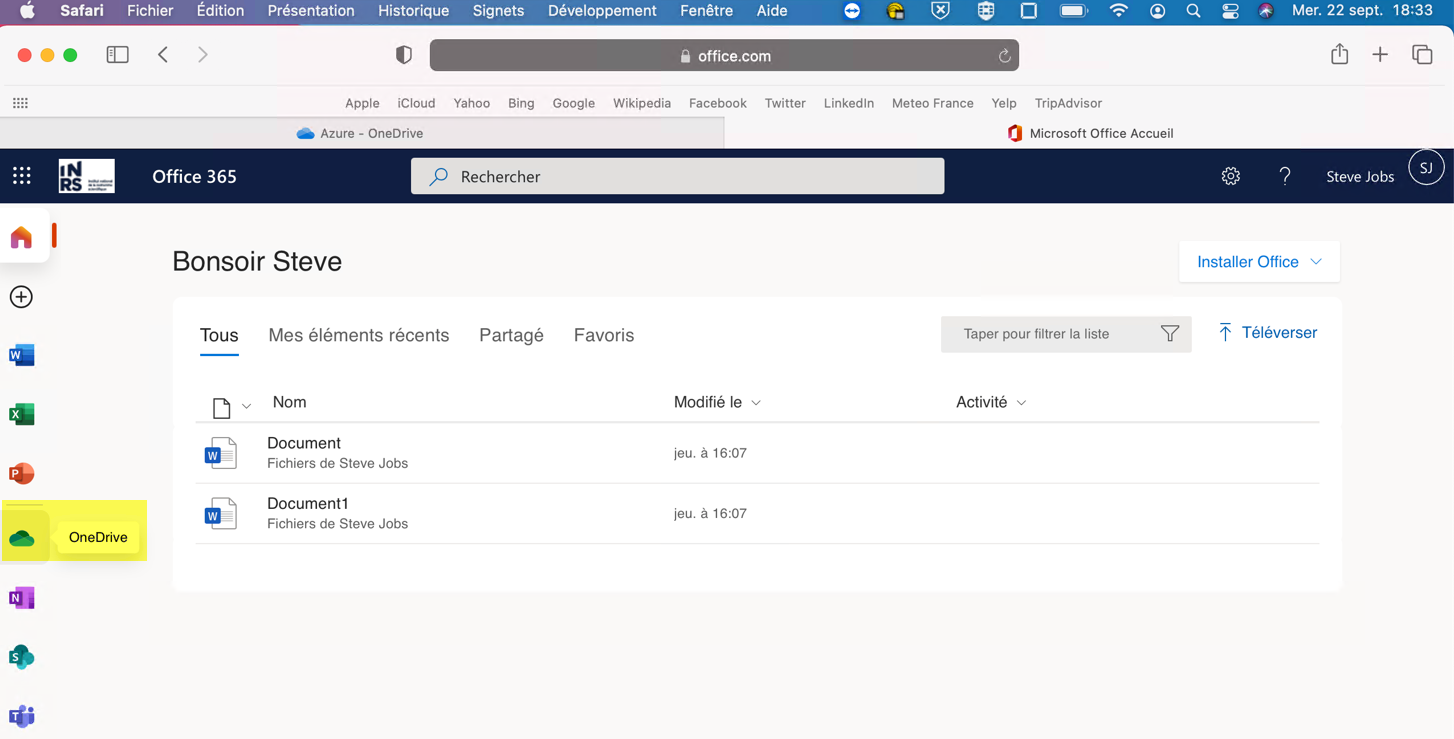
Step 61 : On the Office.com page, click on OneDrive (left)
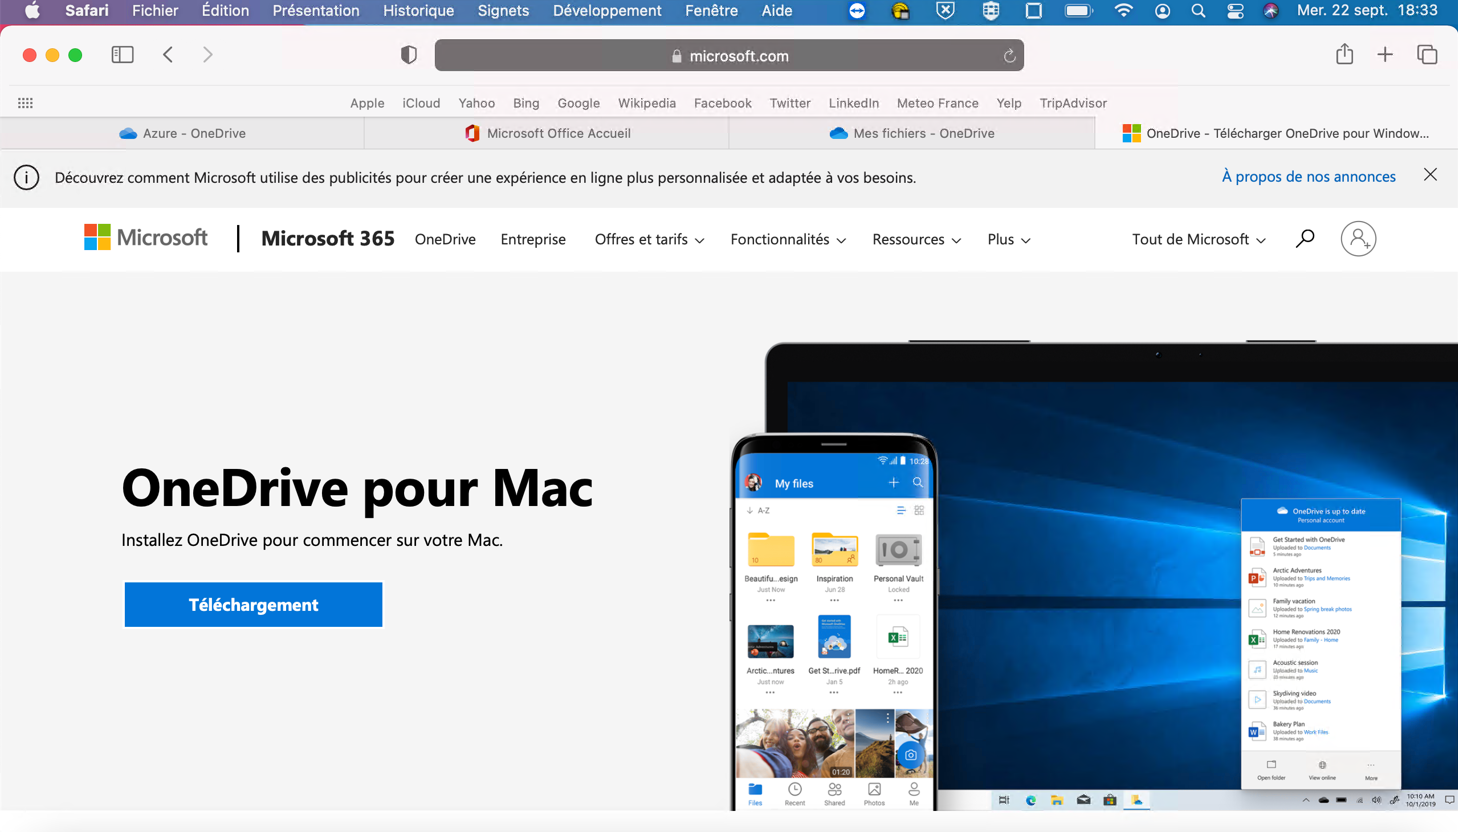
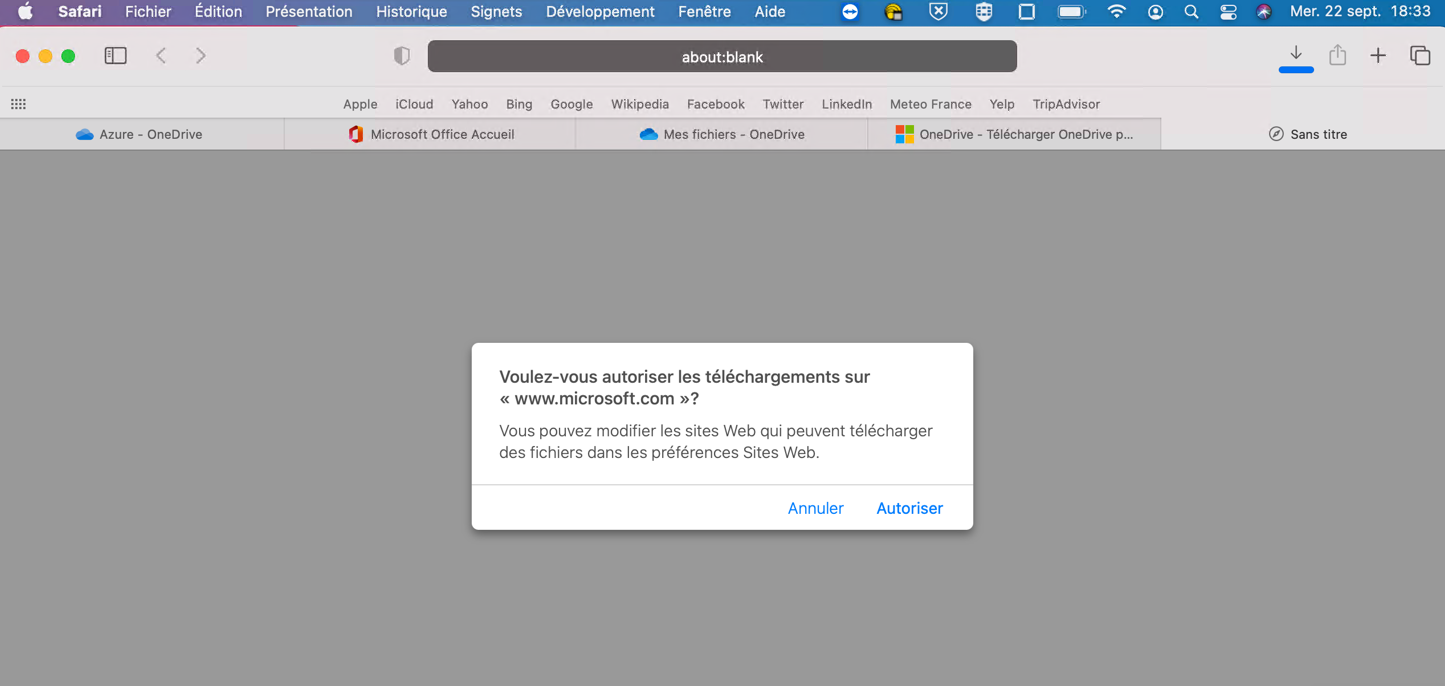
Step 62 : Click Download and click on Autorize
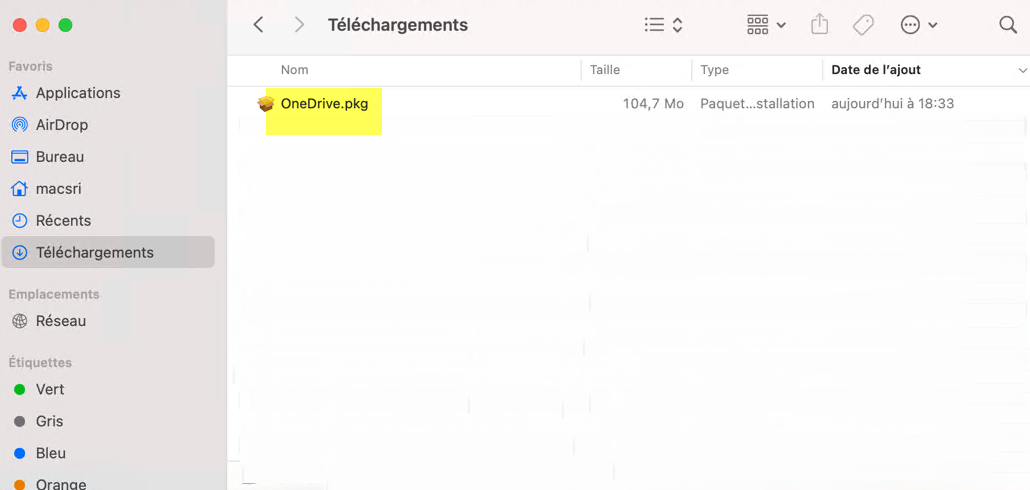
Step 63 : Go on Finder, Downloads then click on the file OneDrive.pkg to start the installation
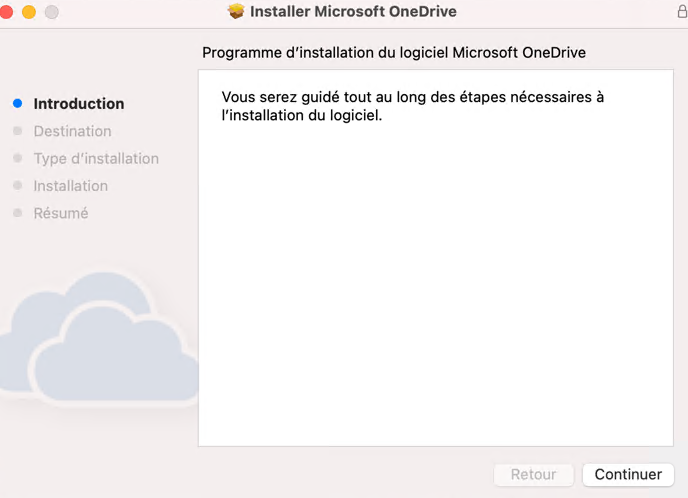
Step 64 : Click on Continue
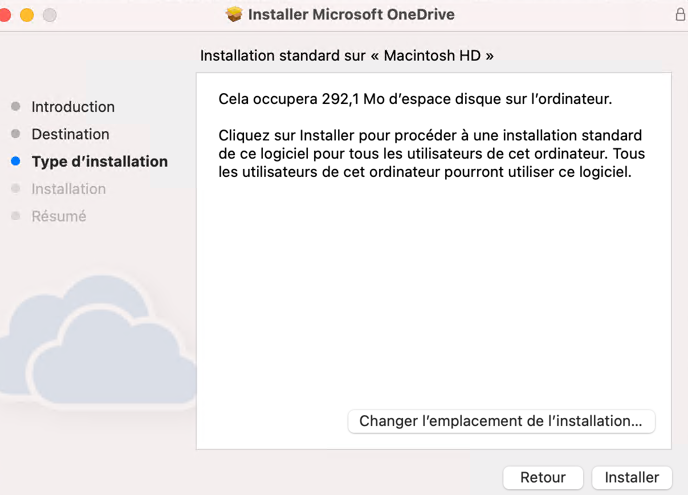
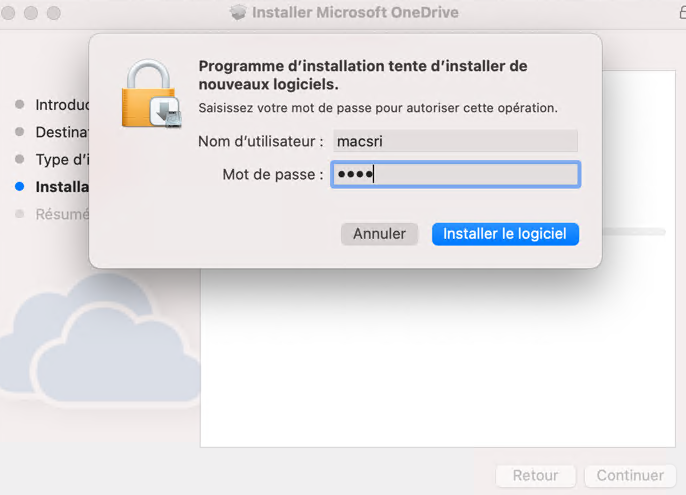
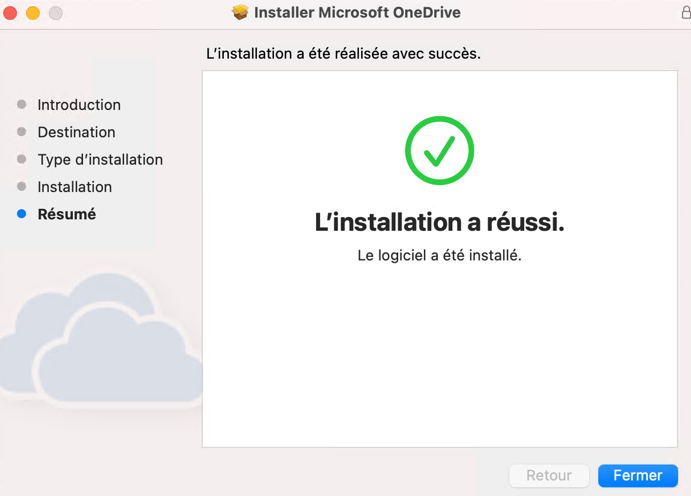
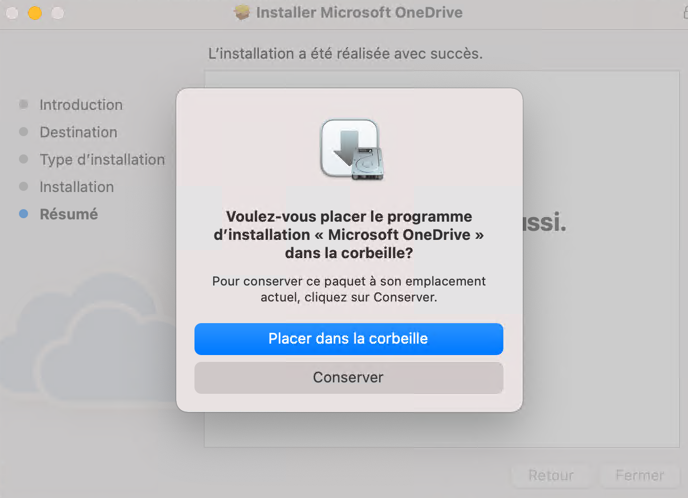
Step 65 : Click on Install, enter your admin password and click on Install , wait for the installation to finish.
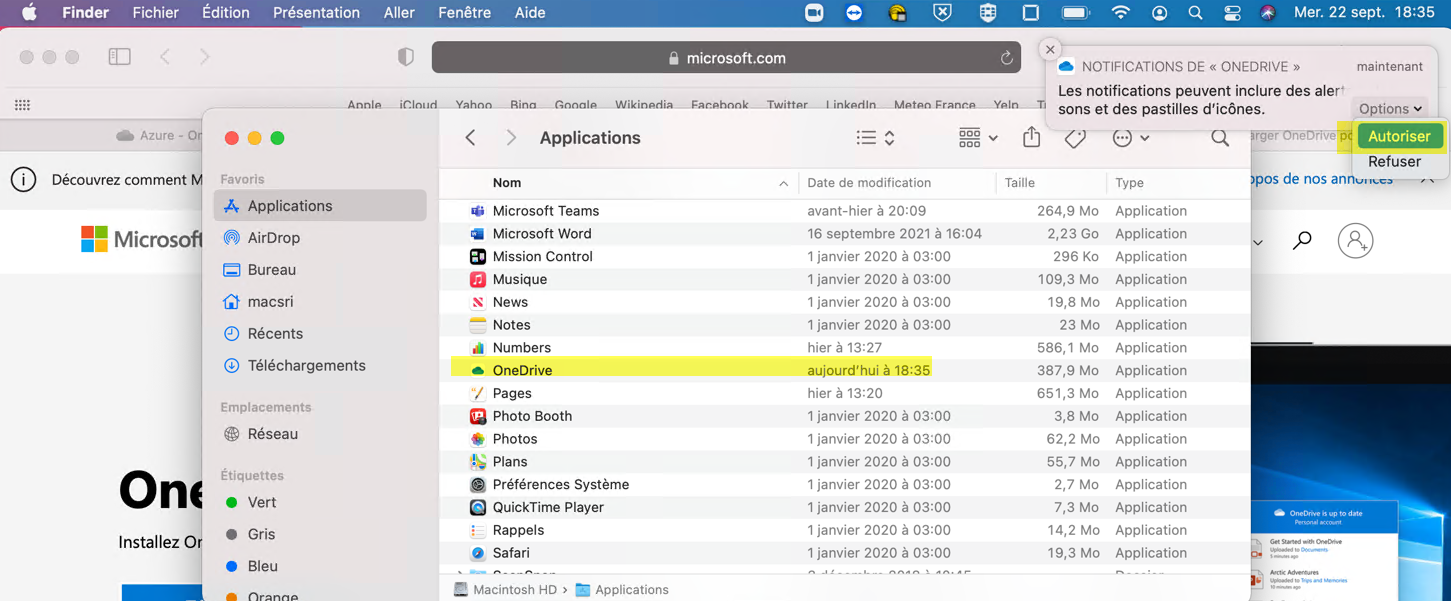
Step 66 : Launch OneDrive. You can do that with Finder, Applications, OneDrive. Then click Autorize
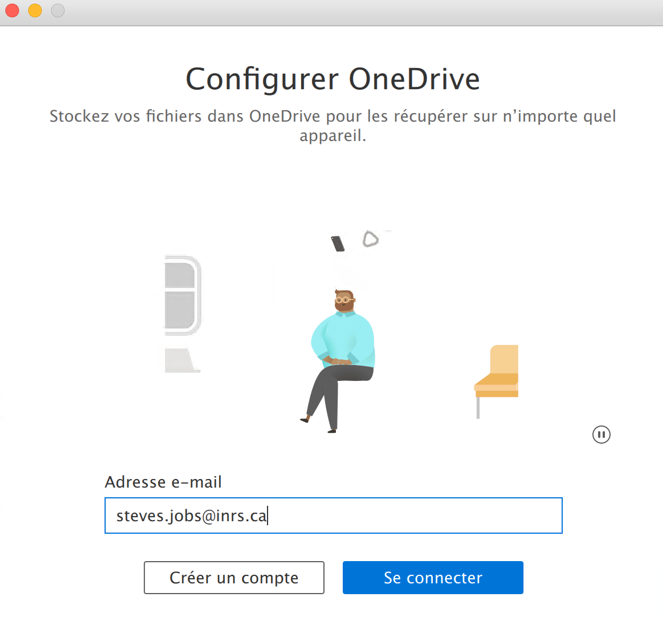
Step 67 : Type in your email address then Sign in
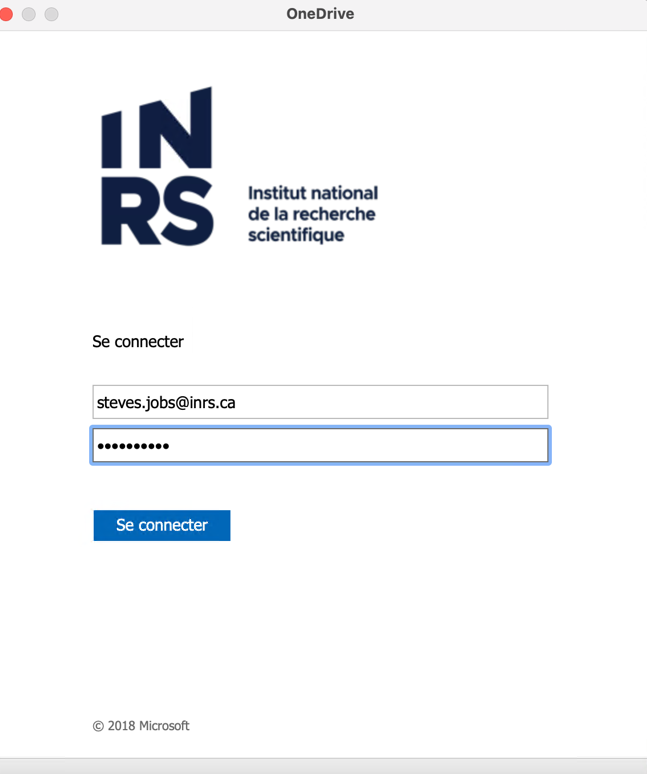
Step 68 : Type in your email address and password. Then click Connecter
Step 69 : Go get your authentication code on the Authenticator app on your phone. Enter the code here:

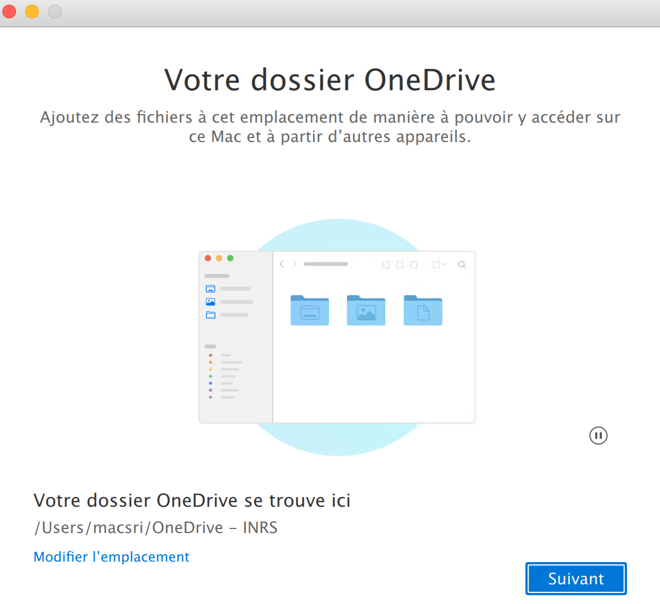
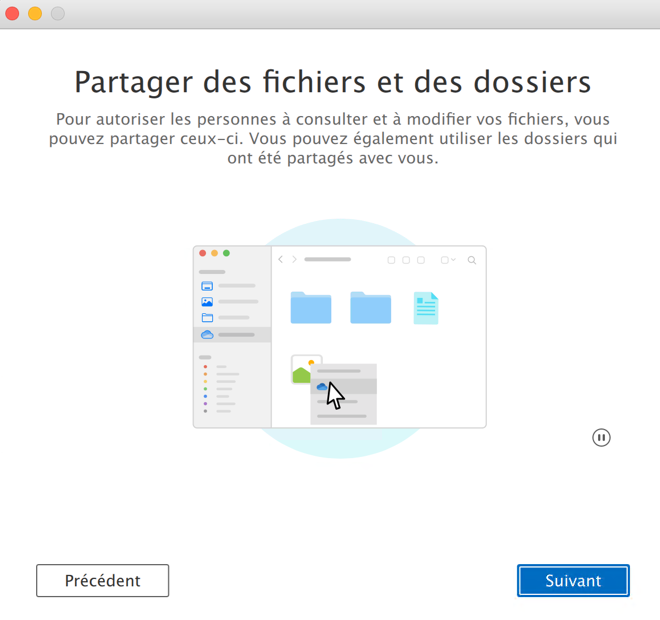
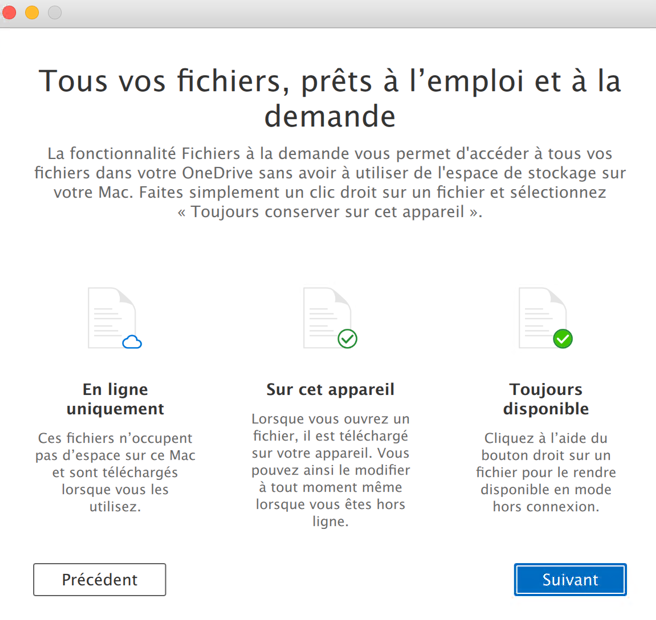
Step 70 : Click Next on the next three windows
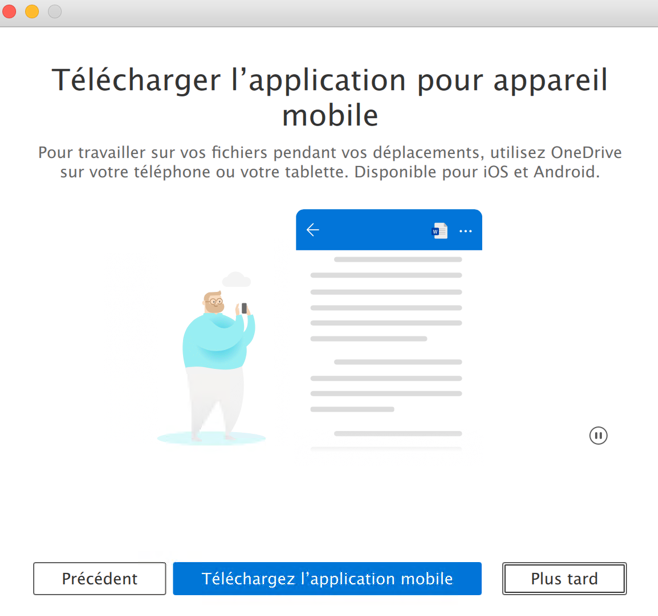
Step 71 : You can install OneDrive on your phone or tablet later if you wish. Click Later
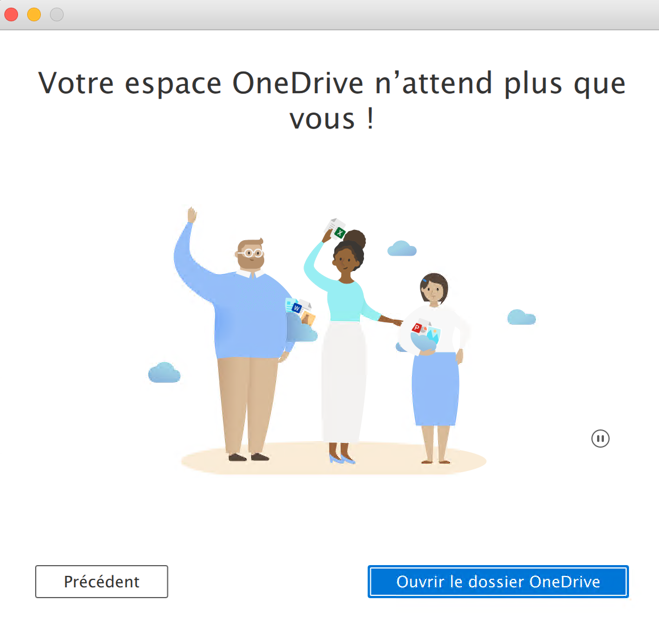
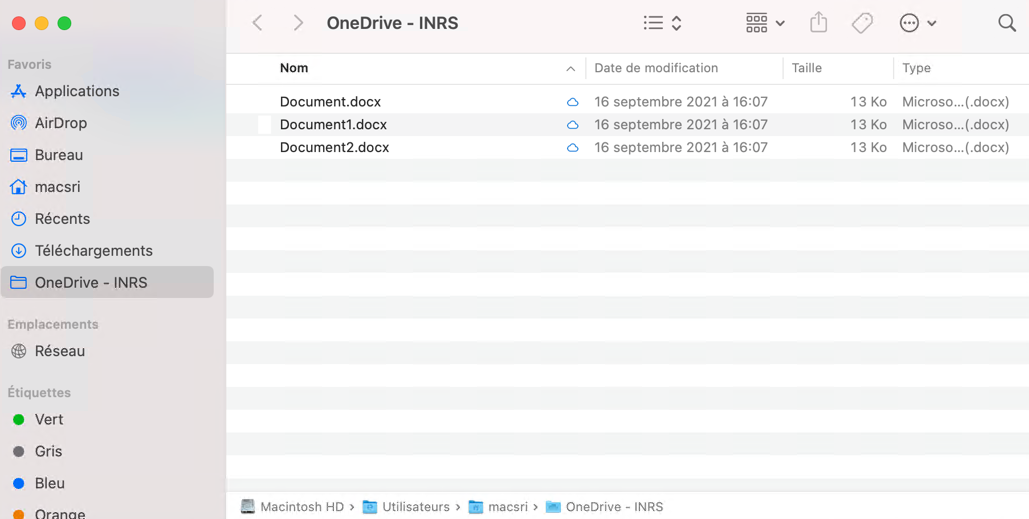
Step 72 : Click on Open my OneDrive folder